
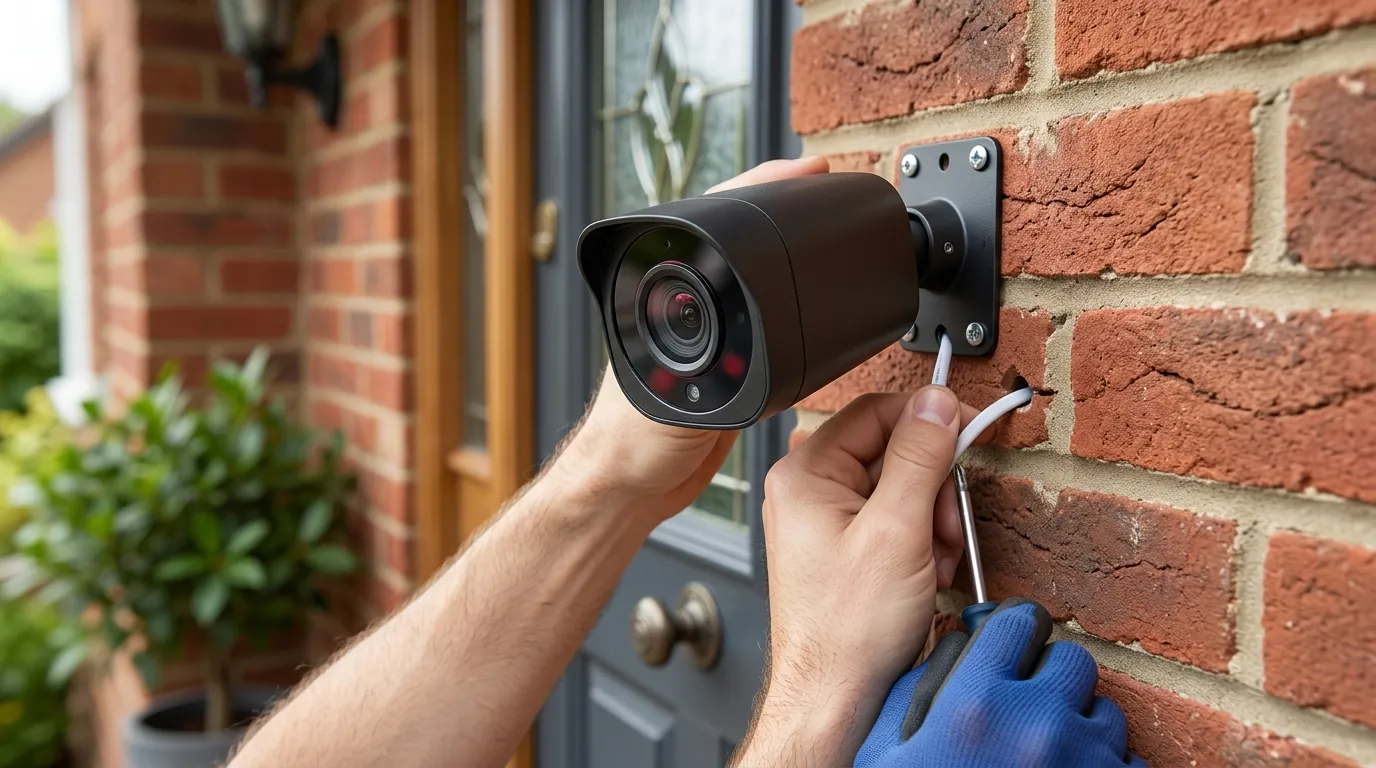
Reolink Doorbell Mounting on Brick Siding: A DIY Guide
Mounting a doorbell on brick requires more than just a screwdriver; it demands specific tools and techniques to ensure the device stays secure without cracking the masonry or compromising your home’s weather seal. This guide provides the technical steps and hardware requirements for a professional-grade Reolink doorbell installation on brick siding.
Quick Answer: To securely mount a Reolink doorbell on brick siding, you’ll typically need a hammer drill, masonry bits, and wall anchors to fasten the mounting plate to the brick or mortar. Optimal placement at approximately 48 inches (1.2 meters) high, utilizing any included angle wedges for the best camera view, and sealing around the mount are crucial for a durable and effective installation.
What it means
Related: Home Assistant 2026.7.0: Alexa Media Player Breaking Changes · EZVIZ Camera Motion Detection Zones: A Complete Setup Guide · Tapo C210 Motion Tracking Issues: Understanding Firmware & Fixes
Mounting a Reolink doorbell on brick siding involves securely attaching the device to a hard, often uneven, exterior surface that does not accept standard wood screws. Unlike wood or vinyl siding, brick is a non-porous, brittle material that requires specialized masonry anchors to provide the necessary “grip” for the mounting screws. If you attempt to force a screw directly into brick, you risk stripping the screw head or, worse, fracturing the brick face.
Reolink currently offers three primary doorbell architectures: the Reolink Video Doorbell PoE, the Reolink Video Doorbell WiFi, and the Reolink Battery Doorbell. While their internal power delivery systems differ, their mounting footprints are remarkably similar. Each unit comes with a metal or high-density plastic mounting plate and a 15° angle wedge. On brick, these plates must be perfectly level to prevent the doorbell from appearing “canted” against the vertical lines of the masonry.
The process is inherently more technical than a standard installation. It requires a “measure twice, drill once” mentality because holes in brick are permanent and difficult to patch invisibly. Furthermore, because brick is often recessed compared to the door frame, installers must consider how the camera’s 180° diagonal field of view interacts with the surrounding masonry to avoid “wall-wash”—a phenomenon where the infrared (IR) lights reflect off the brick at night, blinding the camera.
[Image Spec: A Reolink doorbell mounted cleanly on a brick wall, showcasing its integration with the home’s exterior.]
Why it exists
Brick siding remains a premium and popular exterior finish for both residential and small business properties, but it presents three distinct challenges for modern smart home hardware:
- Material Hardness: Standard cordless drills often struggle with kiln-fired brick. Without a hammer-action drill, the bit can overheat and dull before even penetrating the surface.
- Surface Irregularity: Bricks are rarely perfectly flat. A mounting plate screwed tightly against an uneven brick can flex or crack. This necessitates the use of spacers or careful anchor placement to ensure the doorbell sits flush.
- Signal Interference: For the Video Doorbell WiFi model, brick is a significant attenuator of 2.4GHz and 5GHz signals. A doorbell mounted directly to a brick exterior may experience higher latency or frequent disconnections compared to one mounted on wood, as the dense material absorbs RF energy.
Proper installation techniques exist to mitigate these issues. Using the correct masonry bits prevents the “spalling” (chipping) of the brick face, while weather-grade sealants prevent moisture from entering the drill holes and causing “freeze-thaw” damage, where water expands inside the brick and cracks it from the inside out. Ultimately, a specialized approach ensures the doorbell remains a permanent fixture of the home’s security layer rather than a loose, vibrating accessory.
How it works under the hood
The mechanical stability of a doorbell on brick relies on the principle of expansion anchors. When a screw is driven into a plastic or lead anchor seated in a masonry hole, the anchor expands against the walls of the hole, creating a friction-based bond that can support significantly more weight than the doorbell itself.
Essential Tools and Materials
Before starting, gather the following tools. Using the wrong bit is the most common cause of DIY failure in masonry projects.
- Hammer Drill: A standard drill can work on soft mortar, but a hammer drill (which adds a percussive action) is essential for the brick itself.
- Masonry Drill Bit: Typically 3/16” or 1/4” depending on the anchors provided by Reolink. These bits have a carbide tip designed to pulverize stone and brick.
- Wall Anchors: Reolink includes basic plastic anchors, but for high-traffic areas, some installers prefer premium “all-weather” expansion anchors.
- Level: To ensure the mounting plate is vertical.
- Silicone Sealant: Exterior-grade clear or color-matched silicone to seal the wire hole and the perimeter of the mount.
- Power Source: Depending on the model, you will need an Ethernet cable (PoE), a 16V-24V AC transformer (WiFi), or the internal rechargeable battery.
[Image Spec: A diagram illustrating the process of drilling into brick or mortar with a hammer drill, masonry bit, and the insertion of a wall anchor.]
Step-by-Step Installation Process
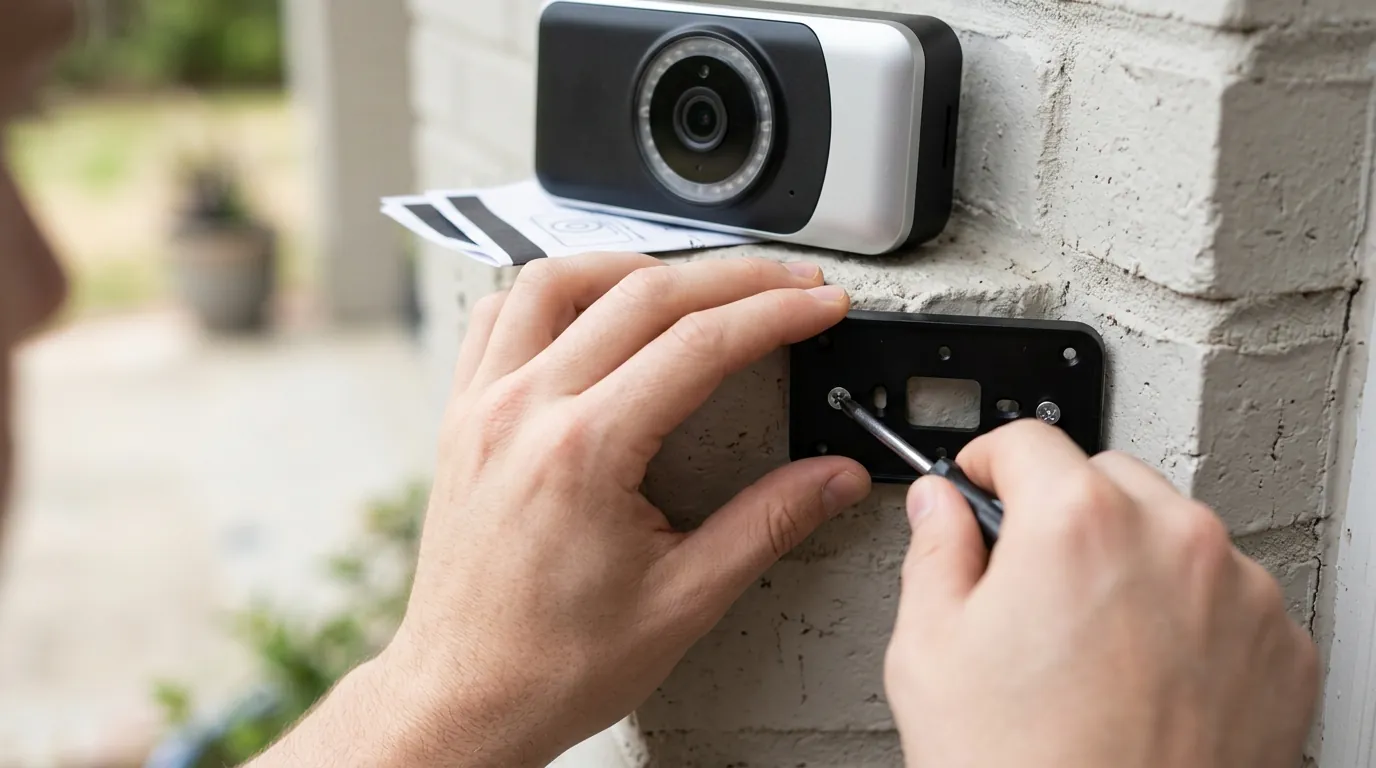
- Positioning: Hold the mounting plate (and the 15° wedge, if needed) against the brick at roughly 48 inches from the ground. This height is the industry standard for capturing faces and packages simultaneously (Reolink Support).
- Marking: Use a pencil or a thin marker to mark the screw holes. Pro Tip: If possible, align the holes with the mortar joints (the cement between bricks). Mortar is easier to drill and much easier to repair if you ever move the doorbell.
- Drilling: Set your drill to “hammer” mode. Hold the drill perfectly perpendicular to the wall. Apply steady pressure but let the drill do the work. Drill approximately 1/4” deeper than the length of the anchor.
- Clearing the Hole: Blow out the dust from the hole using a can of compressed air or a straw. Dust left in the hole can prevent the anchor from seating fully.
- Inserting Anchors: Tap the plastic anchors into the holes until they are flush with the brick surface.
- Wiring (PoE/WiFi): Pull your Ethernet or power wires through the center hole of the mounting plate. If you are drilling a new hole through the brick for the wire, use a long 3/8” masonry bit and aim for a mortar joint.
- Securing the Plate: Drive the screws through the mounting plate and into the anchors. Do not overtighten; stop once the plate is firm against the wall.
[Image Spec: An image demonstrating the application of exterior-grade sealant around the mounted doorbell to ensure weatherproofing.]
Utilizing Brick Extension Mounts
In many brick homes, the door is recessed several inches behind the brick facade. If you mount the Reolink doorbell directly to the door frame, the “nose” of the brick can block a significant portion of the camera’s view. In these scenarios, a brick extension mount or a stackable wedge system is necessary.
Reolink includes one 15° wedge in the box, but third-party manufacturers like Wasserstein or DoorbellMount.com offer deeper extension blocks or 30-45° wedges specifically designed for the Reolink footprint. These extensions push the camera lens out past the brick “canyon,” restoring the full 180° field of view and preventing IR reflection issues at night.
[Image Spec: An example of a custom brick extension mount for a Reolink doorbell, showing how it extends the unit past recessed brickwork.]
Hardware Comparison: Reolink Doorbell Models (2026 Specs)
| Feature | Video Doorbell PoE | Video Doorbell WiFi | Video Doorbell Battery |
|---|---|---|---|
| Resolution | 2K+ (5MP) 2560x1920 | 2K+ (5MP) 2560x1920 | 2K (4MP) 2048x1536 |
| Field of View | 180° Diagonal | 180° Diagonal | 150° Horizontal / 150° Vertical |
| Power Type | Power over Ethernet (802.3af) | 12-24V AC / 24V DC | Rechargeable Battery / Hardwired |
| Local Storage | MicroSD (Up to 256GB) / NVR | MicroSD (Up to 256GB) / NVR | MicroSD (Up to 256GB) / Home Hub |
| Connectivity | Wired Ethernet | 2.4 / 5 GHz WiFi | 2.4 / 5 GHz WiFi |
| MSRP Band | Under $100 | Under $100 | $120 - $150 |
Note: Specs based on manufacturer technical sheets as of early 2026. Check firmware version for updated AI detection features.
Real-world implications
The quality of your mounting job directly impacts the doorbell’s performance over its 5-to-10-year lifespan. A loose mount on brick will vibrate during high winds, potentially triggering false motion alerts or causing the video feed to appear shaky.
Field of View and “Wall Wash”
On brick surfaces, the 15° wedge is almost always mandatory. Because bricks have a rough texture, IR light from the doorbell’s LEDs can bounce off the adjacent brick and back into the lens. This causes the foreground (the brick) to look incredibly bright while the background (your walkway) remains pitch black. Using the wedge to angle the camera away from the immediate brick wall solves this “wall wash” issue, ensuring clear night vision.
Decision Framework: Which Reolink should you mount?
- If you are a Homeowner with an existing chime: Prioritize the Video Doorbell WiFi. It can often use your existing 16V-24V wiring, making the “brick transition” easier as you don’t need to run new cables.
- If you are building or renovating: Prioritize the Video Doorbell PoE. Running a single Cat6 cable through the brick provides the most stable connection and highest security, as the video data cannot be “jammed” like WiFi.
- If you are a Renter or have no wiring: Prioritize the Video Doorbell Battery. While you still have to drill into the brick (unless using a specialized door-clamp), you avoid the complexity of routing power through masonry.
- If you live in a high-theft area: Prioritize the PoE or WiFi models paired with a Reolink NVR. This ensures that even if a thief rips the doorbell off the brick, the footage is already safely recorded inside your house.
Total Cost of Ownership (TCO)
Unlike competitors like Ring or Arlo, Reolink does not “paywall” its core features. When mounting on brick, your TCO is largely front-loaded into the hardware and tools.
- Hardware: Around $90 - $140 depending on the model.
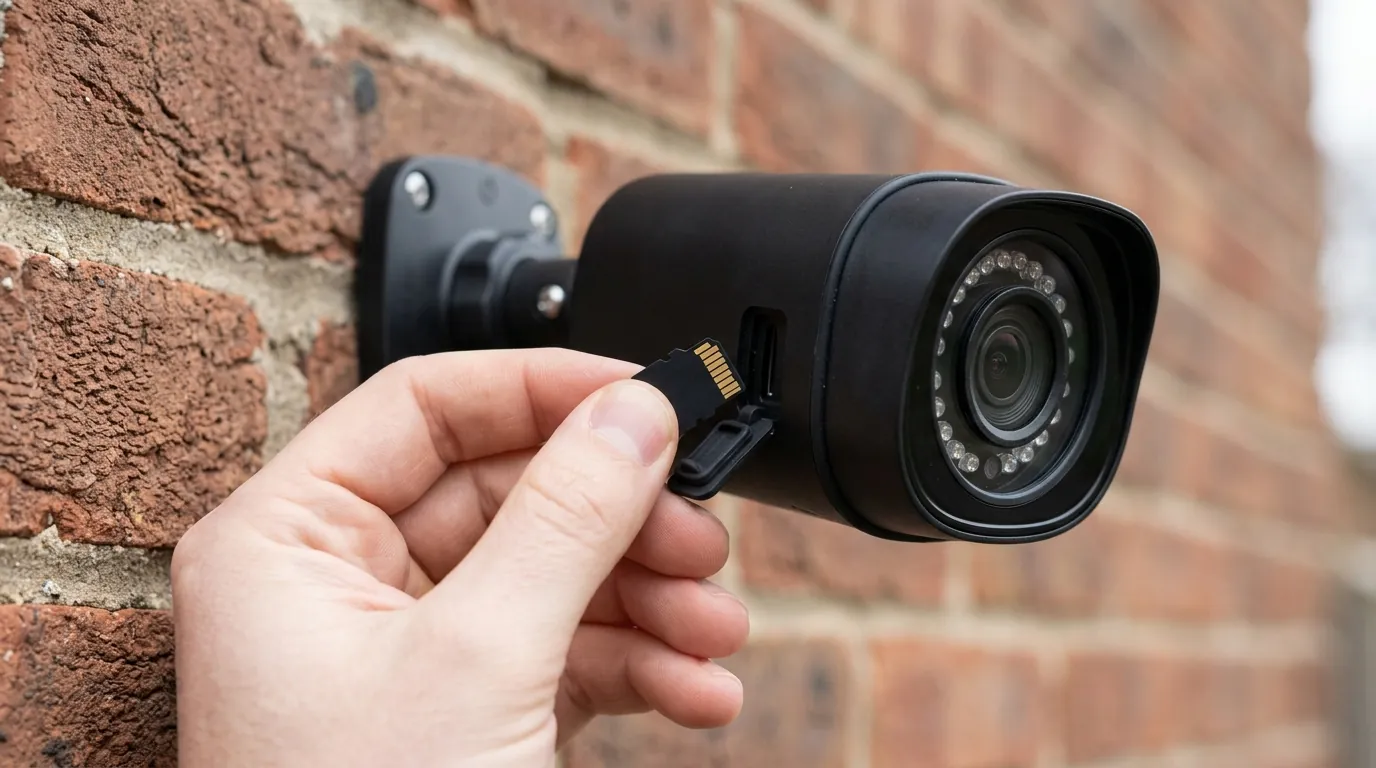
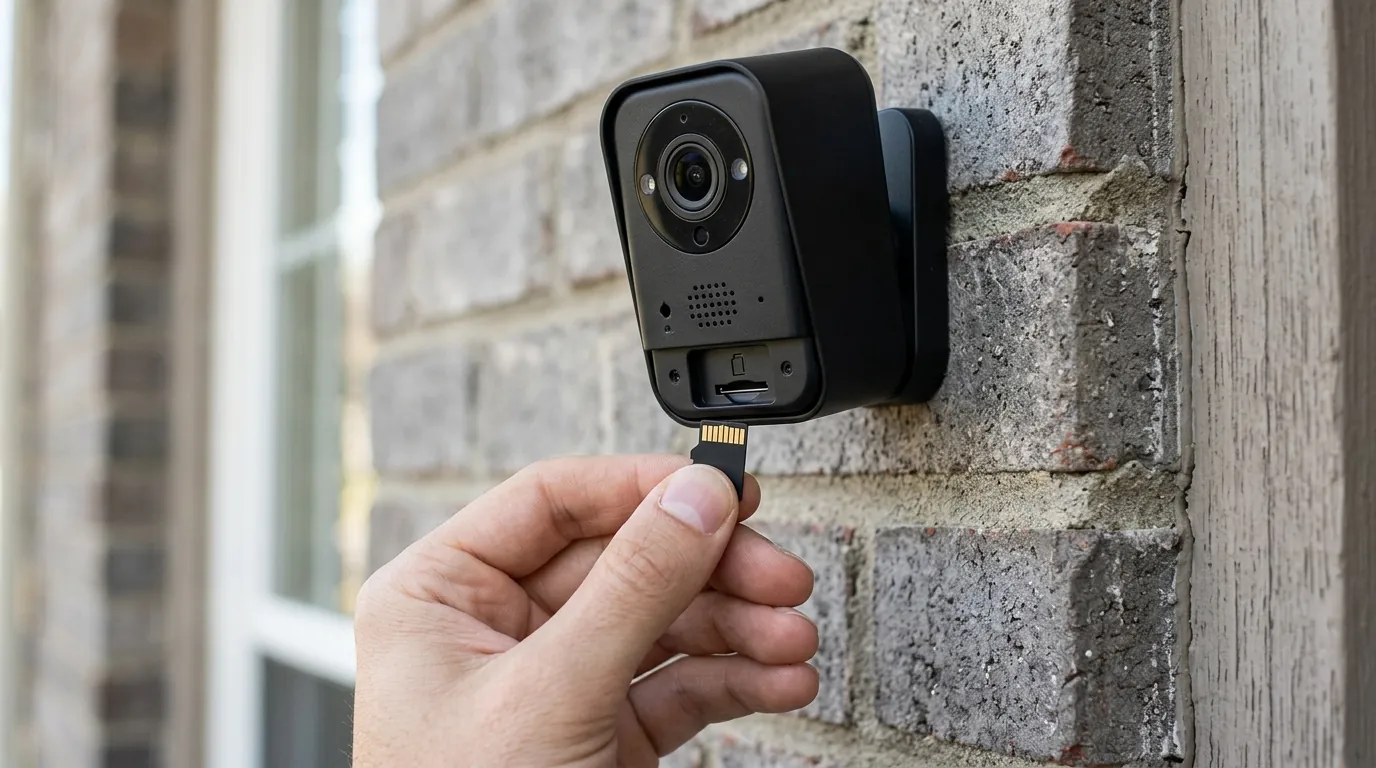
- Storage: $15 - $25 for a high-end 256GB MicroSD card (High Endurance recommended).
- Subscription: $0. Reolink offers person/vehicle detection and local recording without a monthly fee (Reolink Policy).
- Tools: If you don’t own a hammer drill, expect to spend $60 - $100 for a mid-range DIY model or $20 for a 24-hour rental.
- 3-Year Total: Approximately $130 - $250. Compare this to a Ring Doorbell ($100) + Ring Protect Basic ($5/mo), which totals $280 over three years.
[Image Spec: A close-up image of a Reolink doorbell installed on brick, featuring an angle wedge for optimized viewing.]
Common misconceptions
“Any drill bit will work on brick.” This is the most common mistake. Wood or metal bits will turn red-hot and melt against brick. You must use a carbide-tipped masonry bit. If the bit isn’t making progress, check if your drill is in “hammer” mode.
“You can just glue or tape it to brick.” While high-bond VHB tapes exist, the textured and dusty nature of brick makes adhesive failure highly likely over time. Changes in temperature and humidity will eventually cause the tape to lose its grip, potentially shattering your doorbell on the pavement. Mechanical fastening with anchors is the only recommended method for brick.
“Always drill directly into the brick face.” Many professionals prefer drilling into the mortar joints. Mortar is softer, making the drilling process faster and reducing wear on your bits. More importantly, if you ever decide to move the doorbell, filling a small hole in mortar with a bit of “mortar repair” caulk is nearly invisible, whereas a hole in the middle of a brick is a permanent scar.
“No need to seal around the mount.” Brick is porous. If you drill a hole for a wire and don’t seal it with silicone, driving rain can follow the wire into your wall cavity, leading to mold or rot in your home’s framing. Always apply a bead of silicone around the wire entry point and the top/sides of the mounting plate.
“Overtightening screws makes it more secure.” Because brick is uneven, overtightening the screws can bow the mounting plate. This can make it impossible to “click” the doorbell unit into the plate or may cause the plastic to snap. Tighten until the plate is snug, then stop.
Frequently Asked Questions
Can I mount a Reolink doorbell on brick without a hammer drill?
While possible on very old, soft “sand” brick using a standard drill and a brand-new masonry bit, it is not recommended for modern hard-fired brick. A standard drill will likely overheat and dull the bit before the hole is finished. Most hardware stores offer hammer drill rentals for a low daily fee.
Should I drill into the brick or the mortar?
Drilling into the mortar is generally preferred because it is easier to drill and much easier to repair later. However, ensure the mortar is in good condition and not crumbling; if the mortar is weak, the expansion anchor may not hold securely, in which case drilling into the brick itself is the safer option for stability.
How do I prevent the doorbell from reflecting off the brick at night?
Use the 15° angle wedge included in the box to tilt the camera away from the adjacent brick wall. This prevents the infrared (IR) lights from bouncing off the brick surface (wall wash), which usually causes the camera to overexpose the brick and leave the rest of the scene in darkness.
Is the Reolink doorbell waterproof enough for a brick house without an overhang?
Yes, Reolink doorbells are rated for outdoor use (typically IP65), but they are not intended to be submerged. On a brick wall without an eaves or porch roof, it is critical to use silicone sealant around the top and sides of the mount to prevent water from pooling behind the unit or entering the wire hole.
Sources
- Reolink Official Support — How to Install Reolink Video Doorbell
- Reolink Product Page — Video Doorbell PoE Specifications
- DoorbellMount.com — Mounting Solutions for Reolink Doorbell
- RTINGS — Reolink Video Doorbell Review and Testing
- Reolink Privacy Policy — Data Security and Storage Transparency