
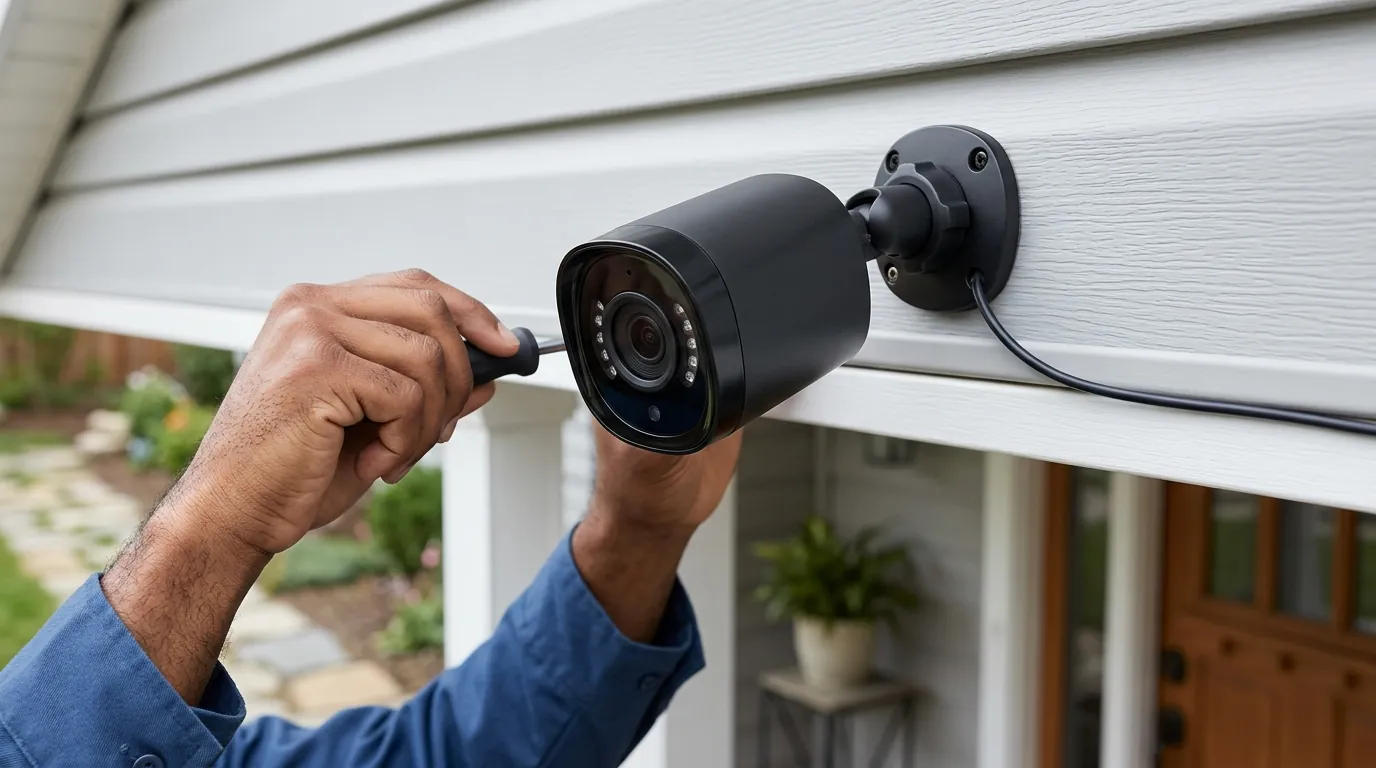
How to Mount Outdoor Cameras on Vinyl Siding (2026 Guide)
Mounting a security camera to vinyl siding requires balancing structural stability with the material’s unique physical properties, specifically its need to expand and contract with temperature changes.
Quick Answer: For a no-drill install, use stainless steel siding clips that hook into the panel laps. For permanent PoE setups, use an Arlington mounting block to provide a flat, weather-sealed surface that protects your home’s warranty.
What it means
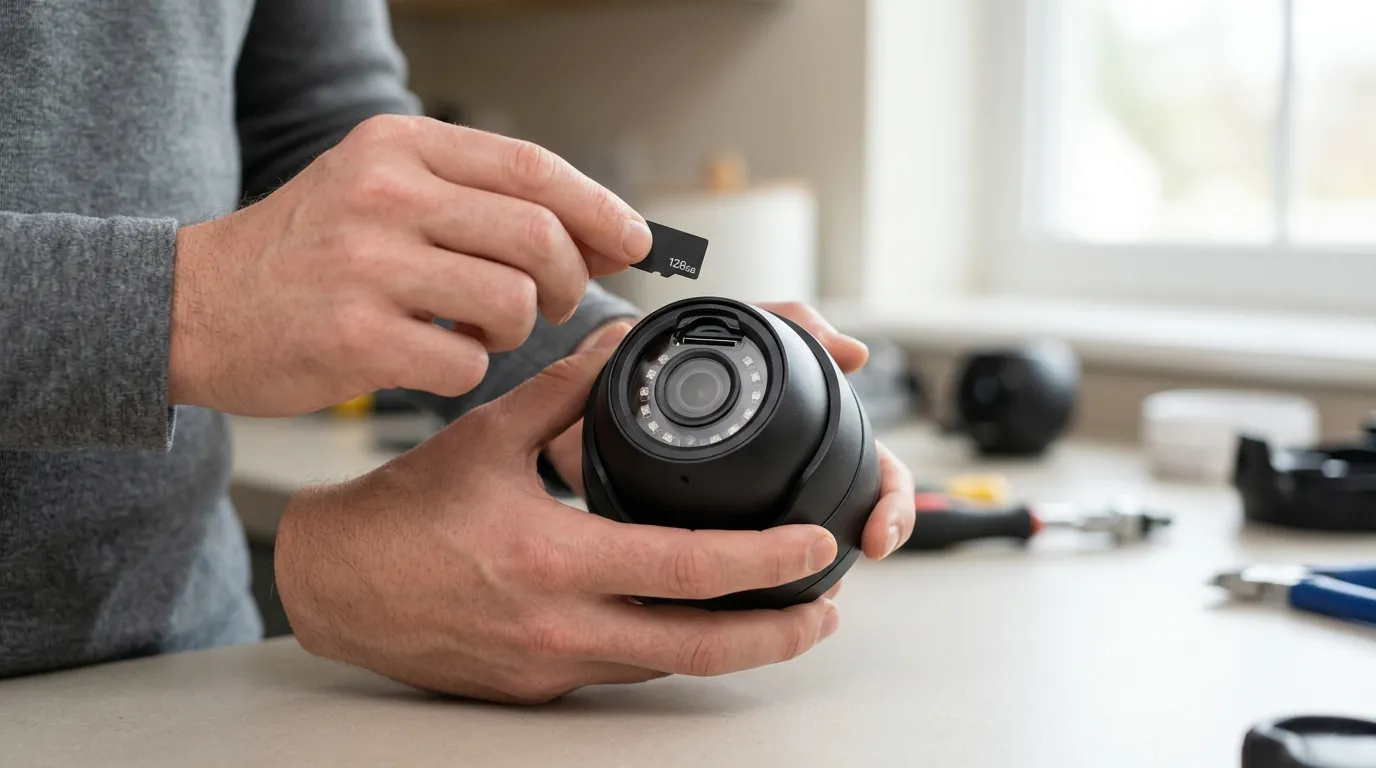
Mounting a security camera on a vinyl-sided home in 2026 involves navigating the “floating” nature of the exterior. Unlike wood or brick, vinyl siding is not a structural component; it is a protective, decorative skin hung from the house sheathing. Understanding how to interact with this skin determines whether your camera remains stable and your home remains watertight.
In the current market, mounting techniques are divided into two categories: non-invasive (no-drill) and invasive (drilled). Non-invasive methods rely on the gaps between siding panels, while invasive methods involve penetrating the siding to reach the structural OSB (oriented strand board) or studs behind it.
Traditional Lap vs. Dutch Lap Profiles
The profile of your siding dictates which hardware you can use.
- Traditional Lap: These panels have a flat, angled face. Standard siding clips sit flush against these.
- Dutch Lap: These panels have a decorative “step-down” or cove at the top of the board. Because of this indentation, a standard flat clip will cause the camera to tilt downward at an extreme angle. In 2026, manufacturers like Holicfun produce specific “stepped” clips designed to compensate for this geometry.
The No-Drill Movement in 2026
The surge in battery-powered and solar-integrated cameras, such as the Eufy SoloCam S340 or the Reolink Argus series, has popularized no-drill mounting. These cameras are light enough to be supported by the siding’s “butt lock”—the horizontal joint where two panels overlap. By using the J-channel (the trim around windows and doors) or the starter strip (the bottom-most attachment point), installers can secure cameras without a single permanent hole.
Table 1: 2026 Mounting Method Comparison
| Mount Type | Best For | Structural Impact | Max Weight Capacity | Install Time |
|---|---|---|---|---|
| Siding Clips | Battery/Solar Cameras | Zero (Removable) | 5–10 lbs | 5 mins |
| Mounting Blocks | Wired/PoE PTZ Cameras | High (Requires Cutout) | 25+ lbs | 45 mins |
| Gutter Mounts | High-vantage Sensors | Zero (Clamps to lip) | 3–5 lbs | 10 mins |
| Adhesive Mounts | Lightweight Sensors | Low (Residue risk) | < 1 lb | 2 mins |
[Image Specification: After H2-1 — Close-up of a stainless steel siding clip being slid under a vinyl lap panel, with a battery-powered security camera already attached to the clip’s bracket. Aspect ratio 16:9.]
Why it exists
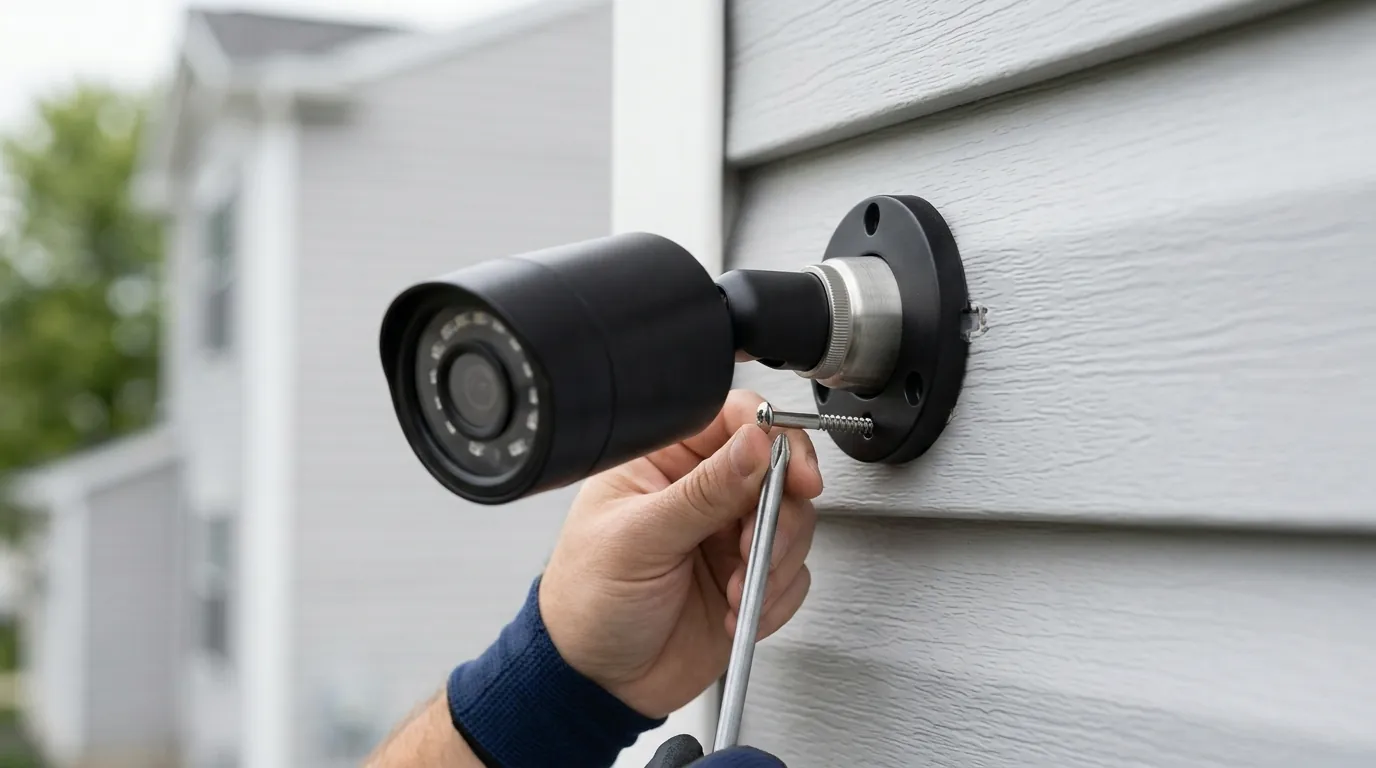
The necessity for specialized siding mounts isn’t just about convenience; it is a requirement of building science. Vinyl siding is designed to be a dynamic system.
The Physics of Thermal Expansion
According to the Vinyl Siding Institute (VSI), a standard 12-foot length of vinyl siding can expand or contract by as much as 1/2 inch depending on the season. If you screw a camera bracket directly through the siding and into the wall, you “pin” the siding in place. When the siding tries to expand in the summer heat, it cannot move past the screw. This results in “oil canning”—a permanent warping or buckling of the panels that is both unsightly and compromises the home’s weather barrier.
Moisture Protection and Home Warranty
Drilling a hole in vinyl siding creates a direct conduit for water. Gravity and wind-driven rain can push moisture behind the siding, where it becomes trapped against the house wrap or OSB sheathing. Over time, this leads to rot and mold.
Furthermore, major US siding manufacturers like CertainTeed and Ply Gem specify strict installation guidelines. Improperly drilling or mounting heavy objects directly to the panels can void the product warranty for that section of the house. Professional mounting blocks, such as the Arlington 8141 series, are engineered to manage this by providing a built-in “flashing” mechanism that diverts water away from the penetration point.
How it works under the hood
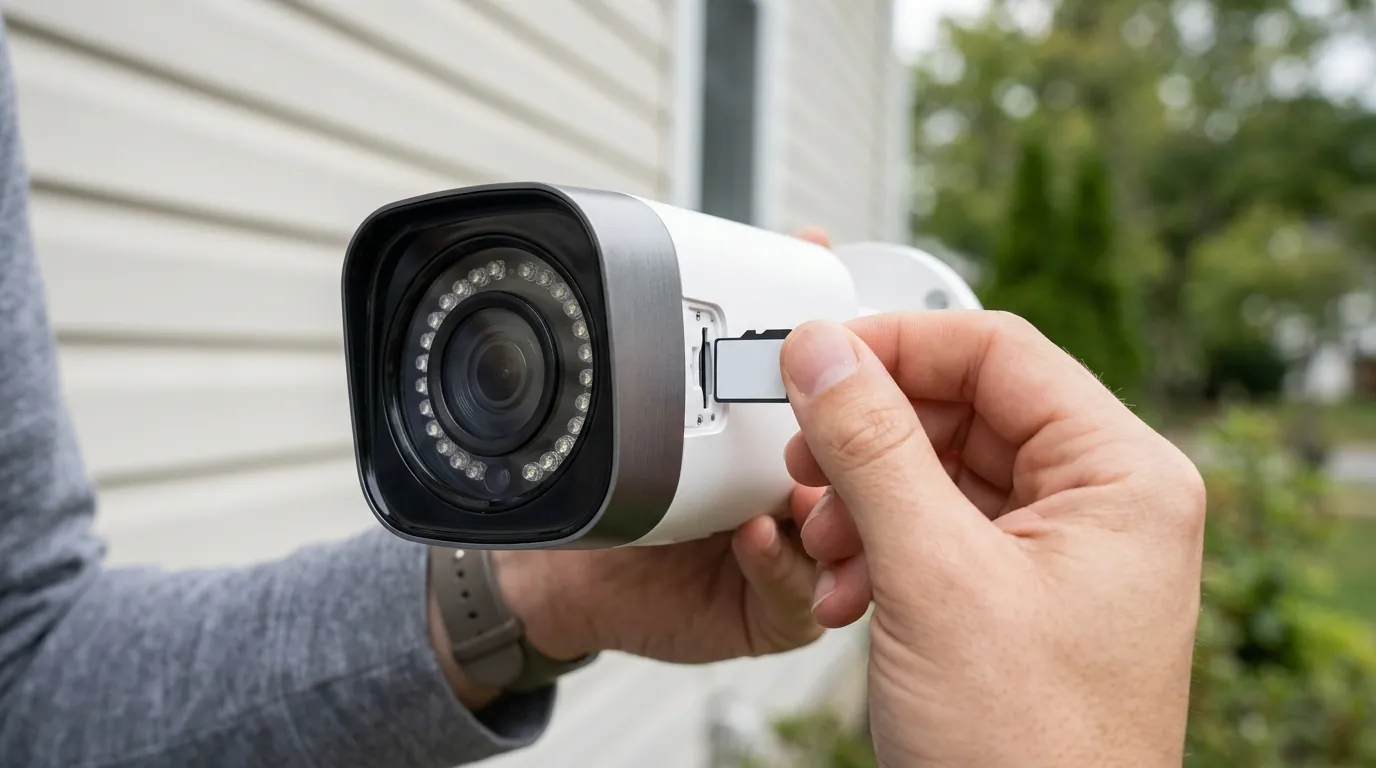
To mount a camera successfully, you must understand the mechanics of the hardware involved.
The Anatomy of a Siding Clip
Most 2026 siding clips are manufactured from 304 stainless steel to prevent rust streaks on the siding. The clip features a “hook” end that is roughly 0.5mm to 1mm thick—thin enough to slip into the lock between siding panels without deforming them. Once inserted, the tension of the siding panel pressing against the house keeps the clip in place.
For heavier 2026 models, such as 4K PTZ (Pan-Tilt-Zoom) cameras, weight distribution is key. A single-point clip may sag. High-end clips now feature wider footprints or dual-hook designs to spread the load across a larger section of the siding’s reinforced “nailing hem.”
How Mounting Blocks Manage Water
A professional mounting block (like the Arlington 8141F) works by replacing a small section of the siding or sitting over it with an integrated J-channel.
- Leveling: The block provides a perfectly flat surface, compensating for the 15-degree or 12-degree slope of the siding.
- Cable Management: The block is hollow, providing a “junction box” environment to hide the pigtail connectors of a PoE camera, which are notoriously difficult to tuck into a standard drill hole.
- Expansion Gap: The block is designed so the siding can slide in and out of the block’s perimeter, allowing for thermal movement while maintaining a water-tight seal.
Table 2: 2026 Camera Weights & Mounting Compatibility
| Camera Model | Weight | Power Type | Recommended Mount |
|---|---|---|---|
| Blink Outdoor 4 | ~0.2 lbs | Battery | Standard Clip |
| Eufy SoloCam S340 | ~1.4 lbs | Solar/Battery | Heavy-Duty Clip |
| Reolink Argus Track | ~1.1 lbs | Battery | Dual-Hook Clip |
| Arlo Pro 5S 2K | ~0.7 lbs | Battery | Standard Clip |
| Ring Spotlight Cam Pro | ~1.2 lbs | Wired/Battery | Reinforced Clip or Block |
| Reolink RLC-823A (PTZ) | ~4.5 lbs | PoE | Arlington 8141F Block |
Real-world implications
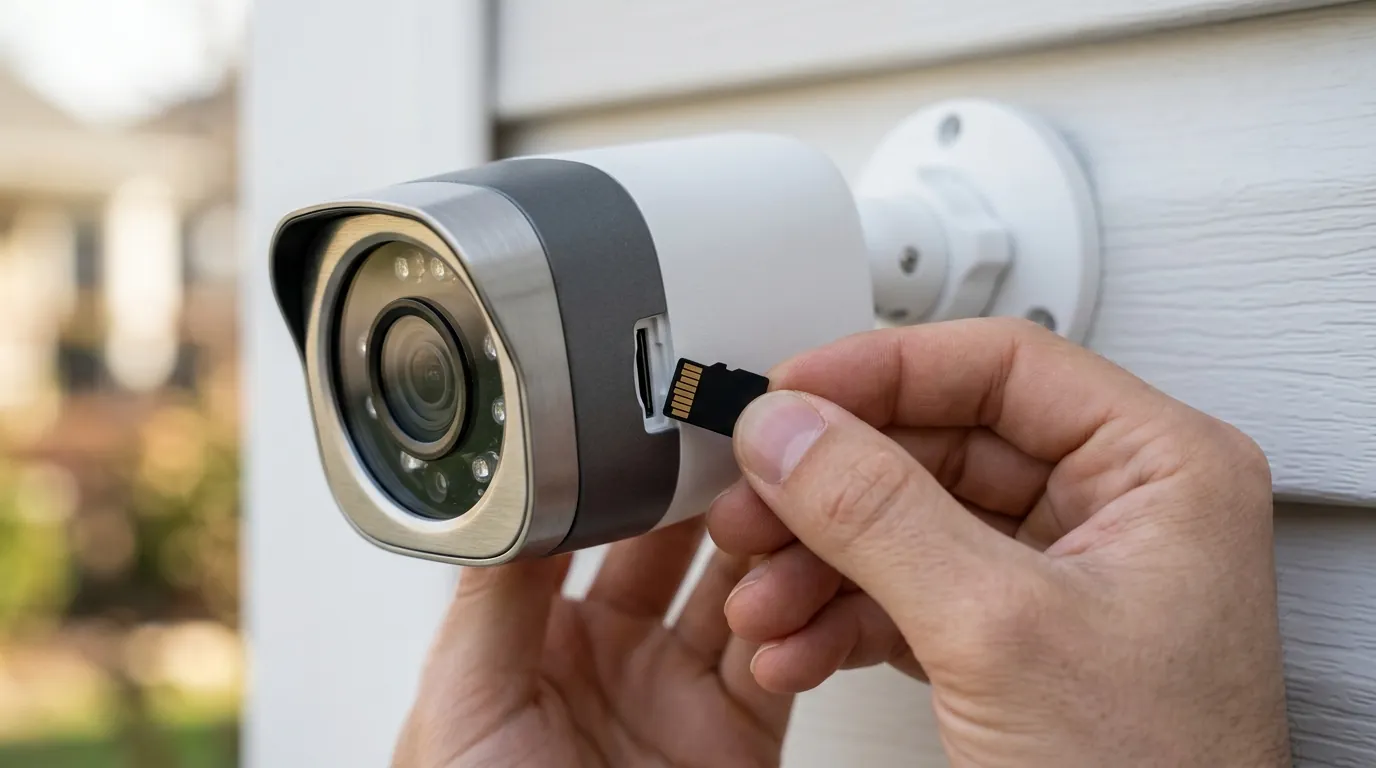
Installing a camera on vinyl requires more than just a screwdriver. For a professional finish in 2026, follow these specific workflows.
Installation Walkthrough: The No-Drill Method
- Identify the Lap: Locate the seam where the upper panel overlaps the lower panel.
- The Zip Tool: If the siding is tight, use a “siding zip tool” to slightly lift the bottom edge of the upper panel.
- Insert the Clip: Slide the hook of the stainless steel clip into the lock. You should feel it “click” or seat firmly over the hidden nailing hem of the lower panel.
- Attach the Camera: Screw the camera’s mounting base onto the clip’s threaded stud.
- Cable Dressing: For solar panels, use “siding wire clips” (small plastic hooks) to tuck the cable into the lap of the siding, running it horizontally until it reaches the camera.
Professional Setup: Using the Arlington 8141F Block
For permanent, wired cameras, the Arlington 8141F is the industry standard.
- Tracing: Place the block against the siding and trace the inner flange.
- Cutting: Use tin snips or a vibrating multi-tool to cut the vinyl siding (but NOT the house wrap behind it).
- Flashing: Apply a bead of high-movement sealant, such as BEHR Weatherstrong or OSI QUAD Max, around the opening.
- Securing: Screw the block through the house wrap into the structural sheathing.
- Sealing: Snap the outer trim plate over the block to hide the cut edges of the siding.
[Image Specification: After H2-4 — A split-screen comparison showing a ‘messy’ install (camera screwed directly into siding) vs. a ‘clean’ install (camera mounted on a color-matched Arlington block). Aspect ratio 4:3.]
Decision Framework: Which Mount Should You Choose?
- If you are a renter: Prioritize Stainless Steel Clips. They leave zero footprint and can be removed in seconds when you move.
- If you have a 4K PTZ camera: Prioritize Structural Mounting Blocks. The motors in PTZ cameras create torque that will cause siding clips to vibrate or sag over time, leading to “motion blur” in your footage.
- If you are installing a Solar Panel: Use Gutter Mounts or Clips. Solar panels are light and need to be positioned for sun, not necessarily for the best “view,” making clips the most flexible option.
Total Cost of Ownership (TCO) - 3-Year Projection
When choosing a mounting method, consider the long-term costs associated with the camera system itself. A “cheap” clip-on camera often carries higher long-term fees.
Table 3: 3-Year TCO Analysis (2026 Estimates)
| Component | Budget (No-Drill) | Mid-Range (No-Drill) | Pro (Block Mount) |
|---|---|---|---|
| Hardware | ~$100 (Blink) | ~$200 (Eufy) | ~$250 (Reolink PoE) |
| Mounting Hardware | ~$15 (Clips) | ~$20 (Solar Mount) | ~$45 (Block + Sealant) |
| Subscription (3 Yrs) | ~$150 ($50/yr) | $0 (Local Storage) | $0 (NVR Storage) |
| Battery Replacement | ~$30 (Lithium AAs) | $0 (Solar) | $0 (PoE) |
| Total 3-Year Cost | ~$295 | ~$220 | ~$295 |
Note: While the Pro setup has higher upfront mounting costs, it matches the budget option’s TCO within three years by eliminating subscription fees and battery maintenance.
Common misconceptions
Misconception: “Outdoor adhesive tape is enough.”
Reality: Even high-strength VHB (Very High Bond) tapes struggle with the textured surface of “wood-grain” vinyl. Furthermore, UV exposure and the 100°F+ surface temperatures of siding in direct sunlight will eventually liquefy the adhesive, leading to a dropped camera.
Misconception: “I can just screw into the siding if I hit a stud.”
Reality: As noted in the physics section, hitting a stud is good for strength but bad for the siding. If you must screw into a stud, you must first drill a “clearance hole” in the vinyl that is larger than the screw shank. This allows the siding to move around the screw rather than being pinned by it.
Misconception: “All clips are universal.”
Reality: Dutch lap siding requires a “stepped” clip profile. If you use a standard clip on Dutch lap, the camera will point at the ground, and the clip will likely vibrate loose because it isn’t seated properly in the cove.
Misconception: “Caulking the hole is enough.”
Reality: Standard interior/exterior caulk has limited “elongation” (stretch). As the siding moves, it will pull away from the caulk, creating a hairline crack that sucks in water via capillary action. Only high-movement exterior sealants (rated for ±50% movement) should be used.
Further reading
To ensure your siding-mounted camera performs at its peak, consider these additional technical guides:
- best outdoor security cameras without subscription: Explore cameras that offer local storage, making them ideal for siding installs where you don’t want to run wires through the envelope.
- how to install poe security cameras: A deep dive into the drilling and fishing techniques required for a professional Arlington block installation.
- local storage vs cloud security camera: Understand the bandwidth and power trade-offs of storing video on-site versus in the cloud.
Sources
- Arlington Industries — https://www.aifittings.com/catalog/siding-mounting-blocks/
- CertainTeed Vinyl Siding Installation Guide — https://www.certainteed.com/resources/Vinyl_Siding_Installation_Guide.pdf
- Vinyl Siding Institute (VSI) — https://www.vinylsiding.org/installation/
- Holicfun Product Specifications
- Reolink Support: Mounting Argus Series — https://support.reolink.com/hc/en-us/articles/360003539394-How-to-Mount-Reolink-Argus-2-Argus-Pro/
- Eufy SoloCam S340 Spec Sheet