
How to Install PoE Security Cameras: A Step-by-Step Guide (2026)
While Wi-Fi cameras offer convenience, professional-grade home security relies on a physical connection to ensure that critical footage is never lost to signal interference or jammed frequencies.
PoE (Power over Ethernet) uses one Cat6 cable for power and data. Connect cameras to a PoE NVR or switch, run cables to mounting points, and configure local storage for a reliable, subscription-free system.
What it means
PoE stands for Power over Ethernet, a networking technology that allows a single Ethernet cable to provide both a high-speed data connection and electrical power to devices. In the context of 2026 security standards, this eliminates the need for a secondary power cable or a nearby electrical outlet at the camera’s mounting position.
Modern PoE systems operate on a “handshake” principle: the power source (a switch or NVR) detects the power requirements of the camera and delivers the exact voltage needed, typically ranging from 48V to 57V DC. For the homeowner, this means “one-wire” installation. Unlike “wireless” cameras from brands like Arlo or Nest—which still require a power cable or frequent battery swaps—a PoE camera is truly autonomous once the network cable is seated.
As of 2026, the industry has coalesced around three primary IEEE standards. While basic 2MP cameras can run on older standards, the shift toward 16MP sensors and active-deterrence features (like built-in spotlights and sirens) has made PoE+ the modern baseline.
2026 PoE Standards Comparison
| Standard | Formal Name | Max Power at Port | Typical 2026 Use Case |
|---|---|---|---|
| PoE | IEEE 802.3af | 15.4W | Basic 2K/4K fixed-lens cameras without heaters. |
| PoE+ | IEEE 802.3at | 30.0W | 2026 Baseline. 4K/8K AI cameras with spotlights and dual-lenses. |
| PoE++ | IEEE 802.3bt | 60W–100W | High-performance PTZ (Pan-Tilt-Zoom) with long-range IR and heaters. |
The One-Cable Advantage
The primary advantage of PoE is the simplification of the physical layer. In a standard Wi-Fi installation, you are often tethered to the locations of existing outdoor outlets. With PoE, you can run a single Cat6 cable through an attic, crawlspace, or soffit to the exact corner of the house that provides the best field of view. Because the cable carries low-voltage DC power, it is significantly safer and easier for a DIYer to handle than 120V AC wiring.
Understanding 802.3af, at, and bt Standards
When shopping for hardware in 2026, checking the IEEE rating is critical. If you purchase a high-end PTZ camera (like the Reolink RLC-823A 16MP series) but connect it to an older 802.3af switch, the camera may boot up but fail when the motors attempt to move or the infrared lights turn on. Always match the “Power Sourcing Equipment” (the switch/NVR) to the “Powered Device” (the camera) requirement.
Why it exists
PoE exists because the consumer security market has reached a “Wi-Fi saturation point.” In 2026, the average US home has dozens of connected devices, leading to significant congestion on the 2.4GHz and 5GHz bands. PoE bypasses this entirely, providing a dedicated “highway” for high-bitrate video.
Escaping the Subscription Trap
A driving force behind the adoption of PoE systems is the desire to escape the “subscription trap.” Major cloud-based brands often lock essential features—such as person detection, high-resolution playback, and extended storage—behind a monthly paywall. According to community consensus on r/HomeSecurity, a PoE system with a local NVR (Network Video Recorder) allows users to own their data outright with $0 in ongoing monthly fees.
Reliability in a Wi-Fi Congested World
Even with the advent of Wi-Fi 7, wireless signals remain vulnerable to physical obstructions (brick, stucco, and foil-backed insulation) and intentional interference. A wired PoE connection offers a consistent 1Gbps or 10Gbps backbone that is immune to signal “dead zones.” This is particularly important for 2026-era 12MP and 16MP cameras, which generate massive data streams that can choke a standard home Wi-Fi network.
The Privacy Advantage of Local Data
Privacy concerns regarding cloud-based security have intensified. Recent transparency reports from major cloud vendors have highlighted instances of police access without warrants. By using a PoE system, the video never has to leave your local network. You can configure your NVR to record 24/7 to internal hard drives, ensuring that your private moments remain on hardware you physically own.
Comparison: PoE vs. Wi-Fi 7 (2026)
| Feature | PoE (Wired) | Wi-Fi 7 (Wireless) |
|---|---|---|
| Reliability | 99.9% (Immune to jamming) | 90-95% (Subject to interference) |
| Power Source | Single Ethernet Cable | Battery or AC Outlet |
| Subscription | Optional / Usually $0 | Often Required for AI/Cloud |
| Data Privacy | Local (NVR) | Cloud-dependent |
| Max Resolution | 16MP+ / Uncompressed | 4K / Highly Compressed |
How it works under the hood
To install these systems correctly, it helps to understand the “negotiation” that happens the moment you plug the cable in.
The 48V Handshake
PoE is “intelligent” power. When you connect a camera to a PoE-enabled port, the Power Sourcing Equipment (PSE) sends a low-voltage signal to check for a specific signature on the Powered Device (PD). This prevents the system from sending 48V of electricity to a device that isn’t designed for it (like a laptop). Once the handshake is successful, the PSE provides the requested power level.
Cat5e vs. Cat6 vs. Cat6a in 2026
While Cat5e is technically capable of handling PoE, Cat6 has become the 2026 standard for new installations. Cat6 features thicker copper gauges (typically 23 AWG) which reduces “voltage drop” over long distances and handles the heat generated by high-wattage PoE++ (802.3bt) much better than thinner cables. For runs exceeding 150 feet, Cat6 or Cat6a is mandatory to ensure the camera receives sufficient amperage for its AI processors and spotlights.
NVR vs. PoE Switch: Which do you need?
There are two ways to architecture a PoE system:
- Plug-and-Play NVR: You run every camera cable back to the NVR. The NVR has a built-in PoE switch. This is the simplest for DIYers.
- Distributed Switch: You run cameras to a PoE switch located in a garage or attic, and then run a single “uplink” cable back to the NVR or your router. This is ideal for large properties where running 8 separate cables to one closet is impractical.
Real-world implications
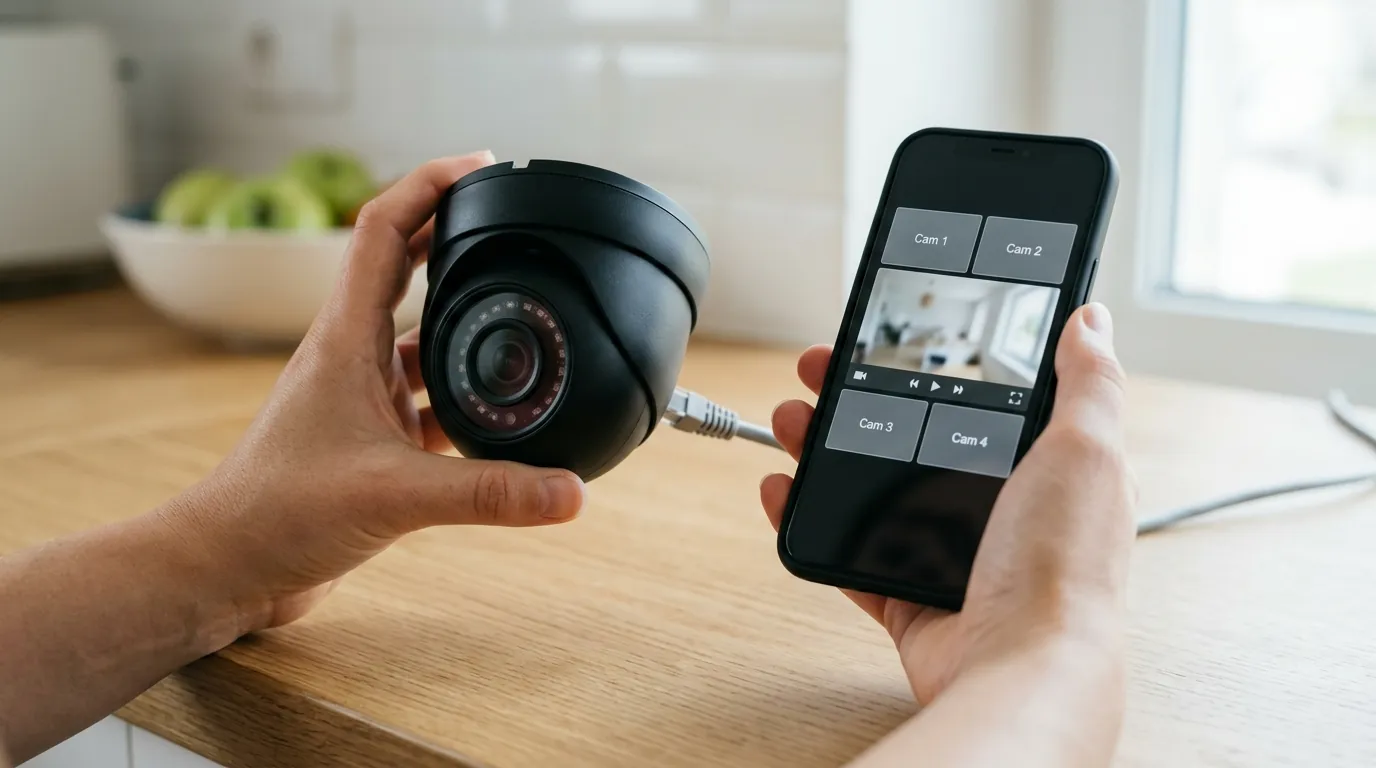
The “hard part” of PoE is not the software—modern NVRs from brands like Lorex and Amcrest are almost entirely automated. The challenge lies in the physical labor of “fishing” cables through the structure of your home.
Step-by-Step Installation Guide
Step 1: Planning and Mapping
Before drilling any holes, use a ladder and a battery-powered Wi-Fi camera (or a phone) to simulate the camera’s view. Identify “choke points” such as driveways, front porches, and rear entries. Aim for a mounting height of 8–10 feet; high enough to be out of reach, but low enough to capture facial details rather than just the tops of heads.
Step 2: Running the Cable
This is the most time-consuming phase.
- Attic Runs: If you have an unfinished attic, this is your best friend. Drill a hole through the top plate of a wall or out through the soffit (the underside of the roof overhang).
- Tools: Use a fish tape (a flexible steel ribbon) to pull the cable through tight spaces. Glow rods are better for vertical wall cavities.
- Pro Tip: Avoid running Ethernet parallel to high-voltage AC power lines. If you must cross them, do so at a 90-degree angle to prevent electromagnetic interference from degrading your video signal.
Step 3: Termination and Weatherproofing
Most DIYers buy “bulk” Cat6 cable and crimp their own ends.
- RJ45 Pass-Through: Use pass-through connectors, which allow the wires to poke out the end of the plug before crimping. This allows you to verify the color-coded wire order (T568B standard) before making the permanent cut.
- Weatherproofing: Exterior connections must be protected. Most PoE cameras include a “weatherproof boot” that slides over the RJ45 connector. Use it. If the connection is exposed to direct rain, install a junction box to house the slack and the connection.
Step 4: Mounting
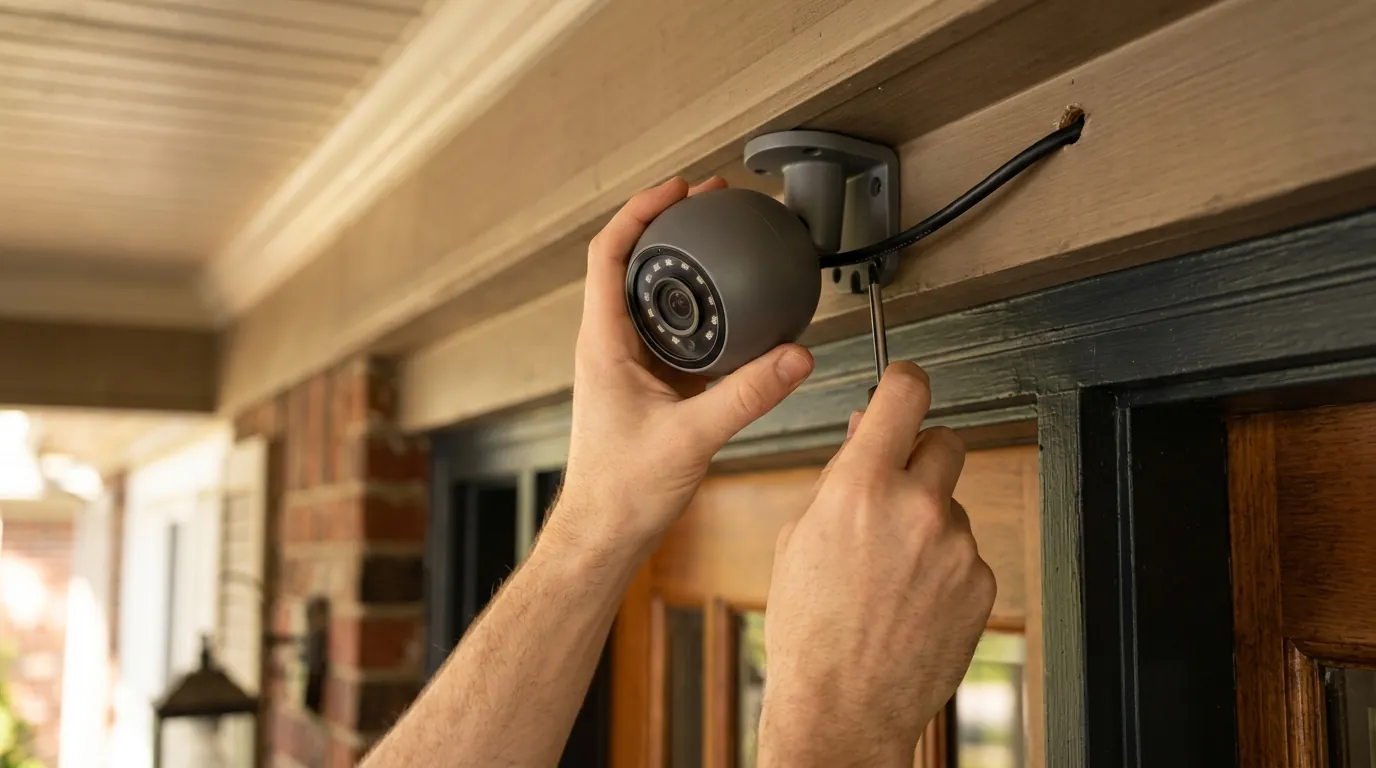
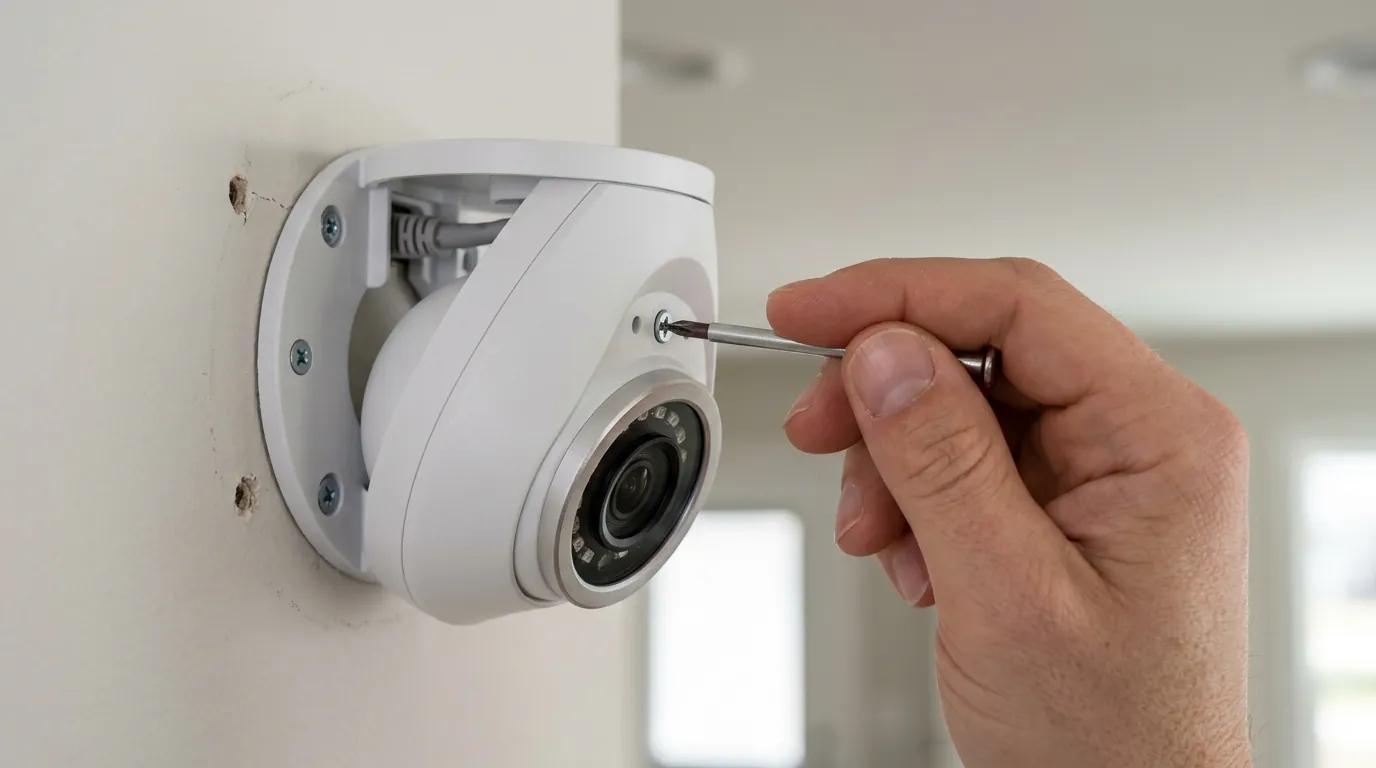
Secure the camera bracket to the soffit or siding. Ensure you create a “drip loop”—a small loop in the cable that hangs lower than the entry hole. This ensures that rainwater runs to the bottom of the loop and drips off, rather than following the cable directly into your wall or the camera’s internals.
Step 5: Configuration
Once plugged in, the NVR will typically assign an IP address to the camera automatically.
- Security Check: Immediately change the default “admin” password.
- Privacy Mode: If your NVR supports cloud features, disable them if you prefer a “local-only” setup. You can still access your cameras remotely by setting up a WireGuard or OpenVPN server on your home router.
Essential DIY PoE Installation Tools
- Drill & Long Masonry Bits: For penetrating brick or wood.
- Cat6 Spool (500ft): Ensure it is “Solid Copper,” not “CCA” (Copper Clad Aluminum), which is brittle and poor for PoE.
- RJ45 Crimp Tool: For attaching the connectors.
- Network Cable Tester: A $15–$20 tool that saves hours by confirming the cable isn’t broken before you mount the camera.
- Silicone Caulk: To seal the holes you’ve drilled.
Pricing Band Table: Estimated Hardware Costs (2026)
| Component | Price Band | Notes |
|---|---|---|
| 4K PoE Camera | $60 – $150 | Higher end includes dual lenses or optical zoom. |
| 8-Channel NVR | $200 – $500 | Includes 2TB–4TB of pre-installed storage. |
| Cat6 Bulk Cable | $80 – $130 | Per 500ft spool of high-quality riser-rated cable. |
| Installation Tools | $60 – $100 | One-time purchase for crimpers, testers, and rods. |
Common misconceptions
The “Electrician” Myth
Many homeowners believe they need a licensed electrician to install PoE. In reality, PoE is classified as Class 2 Low-Voltage wiring. In the vast majority of US jurisdictions, homeowners are legally allowed to run low-voltage networking cables themselves without a permit or a license. It carries no more risk of electric shock than a telephone line.
Upfront Cost vs. Long-Term Value
PoE systems have a higher “sticker price” than a $30 Wi-Fi camera. However, the Total Cost of Ownership (TCO) tells a different story. A typical cloud-based system costs $10–$20 per month for a multi-camera plan. Over five years, that is $600–$1,200 in fees alone. A PoE system pays for itself within the first 18 to 24 months.
5-Year Total Cost of Ownership (TCO) Comparison
| Cost Element | PoE System (4 Cams) | Cloud System (4 Cams) |
|---|---|---|
| Initial Hardware | ~$650 | ~$400 |
| Subscription Fees | $0 | ~$600 ($10/mo) |
| Replacement Units | Low (Wired durability) | Moderate (Battery degradation) |
| Total 5-Year Cost | ~$650 | ~$1,000+ |
The Ease of Modern Plug-and-Play
The idea that PoE is only for “IT professionals” is outdated. In 2026, the software on most NVRs is as user-friendly as a smartphone app. Once the physical cable is plugged in, the camera appears on the screen in seconds. Brands have prioritized “Auto-Discovery” to compete with the ease of Wi-Fi setups.
Further reading
If you are ready to move forward with a PoE installation, your next steps should involve selecting the right “brain” for your system and mastering the physical termination of the cables.
Choosing Your First NVR
The NVR is the most critical component. Look for a unit that supports ONVIF (Open Network Video Interface Forum) compliance. This ensures that you can mix and match different camera brands in the future. If you buy a “closed” system, you may be locked into one manufacturer’s ecosystem forever.
Advanced Networking for Security
For those concerned about cybersecurity, consider placing your security cameras on a VLAN (Virtual Local Area Network). This isolates the cameras from the rest of your home network, ensuring that even if a camera has a vulnerability, a hacker cannot use it to access your personal computer or NAS.
Hardwiring Your Smart Home
Installing PoE cameras is often the “gateway” to a fully hardwired smart home. The same Cat6 cables you run for cameras can be used for Wi-Fi access points and smart home hubs, significantly increasing the overall speed and stability of your household internet.
Sources
- IEEE 802.3bt Standard Overview — phihong.com
- PoE Cabling Best Practices — ui.com
- Security Camera Pricing and Specs — lorex.com
- Reolink PoE Camera Specifications — reolink.com
- Home Security Community Wiki — reddit.com/r/HomeSecurity
- Independent Camera Testing — rtings.com