
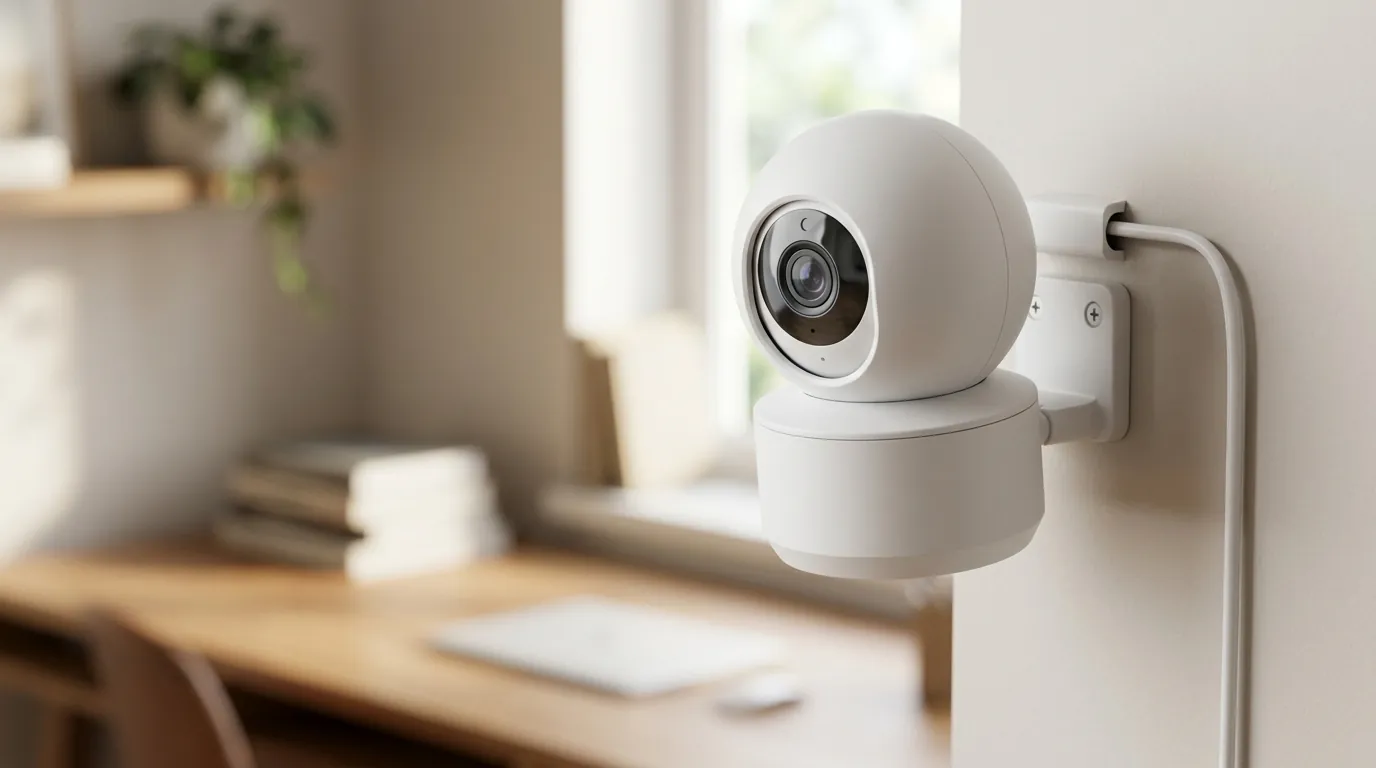
Tapo C200 Firmware Update Boot Loop: Fixes & Recovery Guide
A sudden failure during a routine firmware update can transform a reliable security tool into a decorative plastic brick. If your Tapo C200 is stuck in a perpetual cycle of spinning and flashing, you are likely facing a firmware-induced boot loop.
📝 Editorial Note: This guide is AI-assisted and game data evolves rapidly. Please cross-reference with in-game information. Updated: 2026-07-31.
A Tapo C200 boot loop is usually caused by a corrupted update or power loss during the writing phase. Fix it by removing the microSD card and performing a 10-second hard reset. If the unit is physically bricked, the Reolink E1 Pro is a reliable, subscription-free 2K alternative in the around $50 range.
The symptom
Related: Ring Camera Alexa Live View Not Working? 2026 Fix Guide · Ring Doorbell Alexa Live View Integration Failure 2026: Fix Guide · Eufy Home Assistant Notifications Broken? 2026 Fix Guide
When a Tapo C200 enters a boot loop, it fails to reach the “System Ready” state, which is normally indicated by a specific chime and a slow-flashing green LED. Instead, the hardware becomes trapped in the initialization phase of its Linux-based operating system.
Identifying the ‘Death Loop’ vs. a Slow Update
It is critical to distinguish between a camera that is simply taking a long time to apply a large update and one that is truly bricked. During a standard update, the LED may flash red or stay solid for several minutes. However, a boot loop is characterized by repetitive mechanical movement.
If the camera lens performs its “startup spin”—the full pan and tilt calibration—every 30 to 60 seconds, the system is crashing and restarting. In this state, the Tapo app will consistently report the device as “Offline,” even if your smartphone is right next to the unit.
Physical Signs of a Bricked Unit
The LED indicator is your primary diagnostic tool. According to the official TP-Link LED status guide, the following patterns indicate a failed boot sequence:
- Solid Red: The camera is stuck in the “Starting up” phase. If this lasts longer than 2 minutes without a motor spin, the internal flash memory may be corrupted.
- Rapidly Flashing Red: This typically indicates a failed firmware handshake or a critical system error during the “Writing” phase of an Over-The-Air (OTA) update.
- Alternating Red and Green: The camera is in setup mode, but if it reverts to this state immediately after a motor spin without user intervention, it is failing to load its saved configuration.
| Symptom | LED State | Potential Cause |
|---|---|---|
| Perpetual Motor Spin | Solid Red to Green Flash | Kernel panic; system rebooting |
| No Motor Movement | Solid Red (Permanent) | Bricked bootloader or flash memory failure |
| App shows “Updating 0%” | Rapid Flashing Red | Wi-Fi timeout during download |
| Device Offline after 100% | No LED or Solid Red | Post-update initialization failure |
[Image Description: A Tapo C200 camera sitting on a wooden shelf, showing the lens tilted up to reveal the reset button and microSD slot, with a finger pressing the button. Aspect ratio 16:9.]
What’s likely happening
Understanding the root cause of a boot loop helps determine if the fix is a simple reset or a hardware replacement. The Tapo C200, across its various hardware versions (V1 through V4, and the 2026 V5), relies on a delicate sequence of loading firmware from internal SPI flash memory into RAM.
The Role of the MicroSD Card in Booting
One of the most common, yet overlooked, causes of a boot loop is the microSD card. When the C200 boots, it performs a check of the file system. If a low-quality or aging SD card has corrupted sectors—particularly in the “Tapo” folder where video metadata is stored—the camera’s basic OS may hang while attempting to mount the drive. Because the C200 lacks the processing power to “skip” a mounting error gracefully, it simply reboots.
OTA Update Vulnerabilities
Over-The-Air (OTA) updates are convenient but inherently risky. A boot loop often occurs during the “Writing” phase (usually between 50% and 100% in the app). If the 2.4GHz Wi-Fi signal drops or if the 9V/0.6A power adapter experiences a minor voltage dip, the firmware “image” becomes fragmented.
There has been community discussion regarding hardware version mismatches. While TP-Link’s cloud servers are designed to prevent pushing V4 firmware to V2 hardware, technical glitches in the Tapo App (Version 3.x and above) have historically been blamed for incorrect version reporting. If the wrong kernel is flashed to the camera’s SoC (System on a Chip), the device will enter a “Kernel Panic” loop, which is the technical term for the repetitive rebooting users see.
Hardware Evolution and Power Needs
As of 2026, the Tapo C200 has seen several iterations. While the resolution has remained 1080p (2MP) to differentiate it from the 2K C210 and 4K C220 models, the internal Wi-Fi chips have changed.
- V1/V2: Uses older 802.11n chipsets.
- V3/V4: Improved low-light sensors but higher peak power draw during IR (Infrared) activation.
- V5 (2026): Updated to include WPA3 support, which requires more stable power during the initial handshake.
If your power adapter is several years old, it may provide enough current for the LEDs but fail when the Wi-Fi chip tries to initialize, leading to a “brownout” boot loop.
Quick fixes (in order of likelihood)
Before assuming the camera is permanently damaged, follow these steps in sequence. These address 90% of boot loop issues reported in the TP-Link community forums.
The MicroSD Removal Trick
The first and most effective step is the “Naked Boot.”
- Unplug the power cable from the back of the C200.
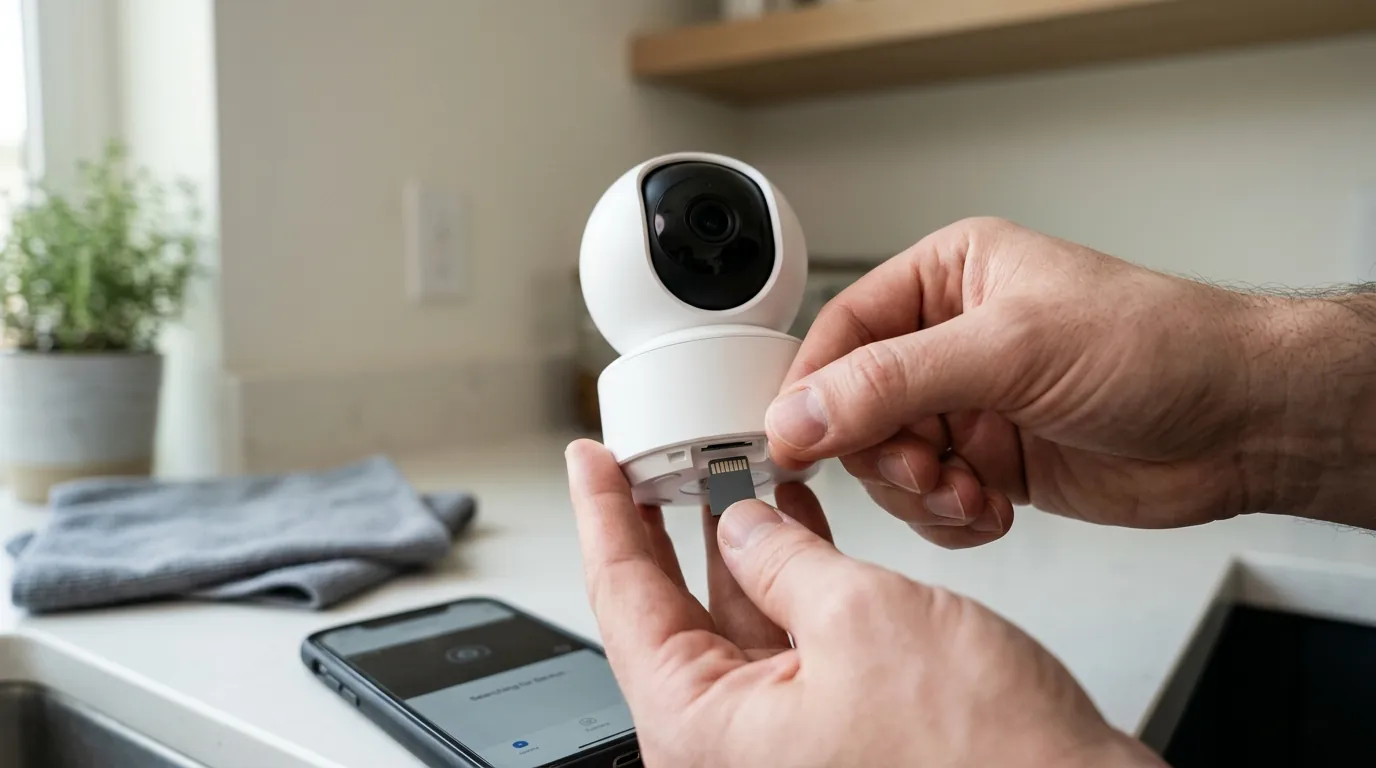
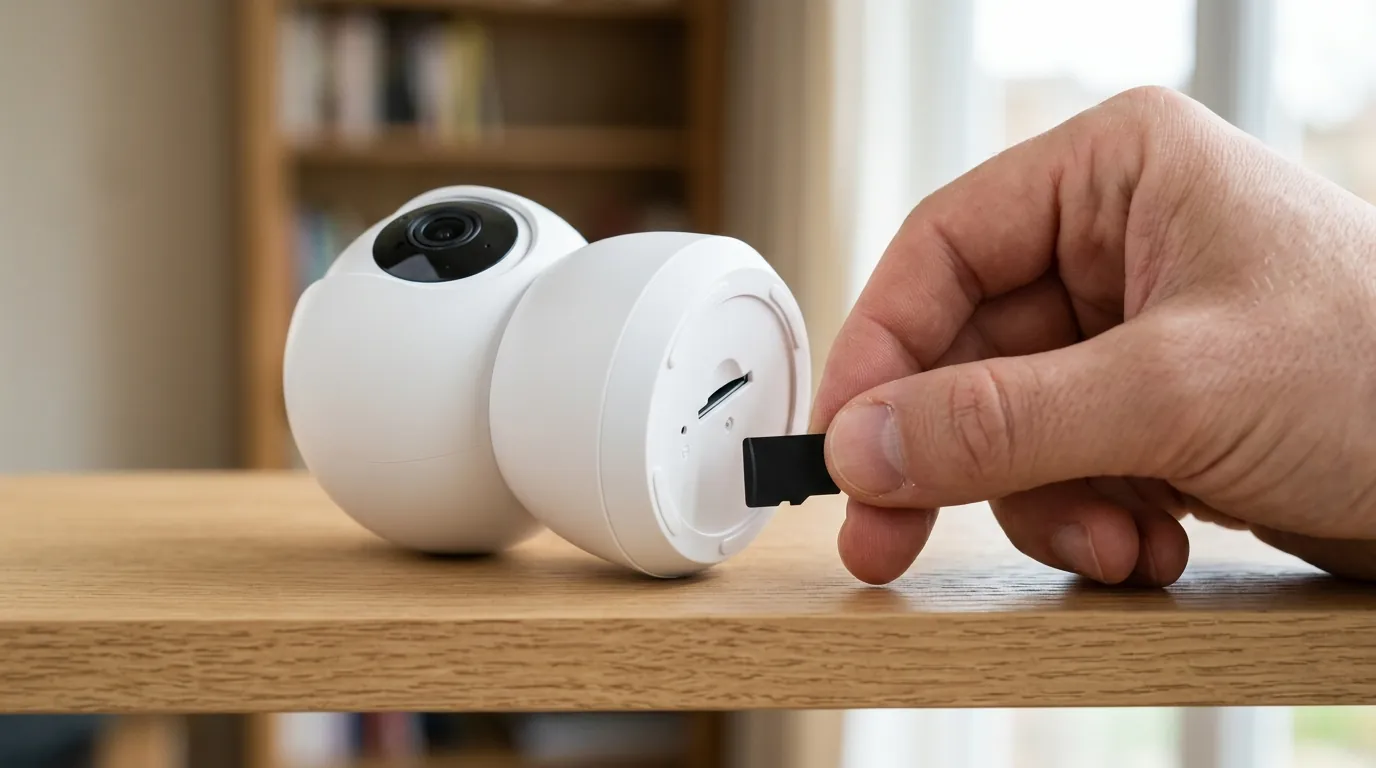
- Manually tilt the lens upward to expose the SD card slot.
- Eject the microSD card.
- Plug the power back in and wait 60 seconds. If the camera finishes its spin and the LED begins flashing green, the issue was a corrupted SD card, not the firmware itself. You should format the card on a PC using FAT32 before re-inserting it.
Performing a True Factory Reset
A simple press of the reset button is often insufficient for a camera stuck in a loop. You must perform a “Hard Reset” to force the camera to revert to its backup partition (if available) or clear the corrupted NVRAM settings.
- Ensure the camera is powered on (even if it is looping).
- Locate the reset button next to the SD slot.
- Use a pin or the tip of a pen to hold the button for exactly 10 seconds.
- The LED should turn solid red, then the camera will tilt and pan.
- Release the button only when the LED begins to blink red and green.
Power Supply Swap
If the camera resets but loops again as soon as it tries to connect to Wi-Fi, the power adapter is the likely culprit. The C200 requires a 9.0V / 0.6A DC output. Testing with a compatible adapter from another Tapo device or a universal power supply can rule out “dirty power” as the cause of the crash.
Deeper diagnostics
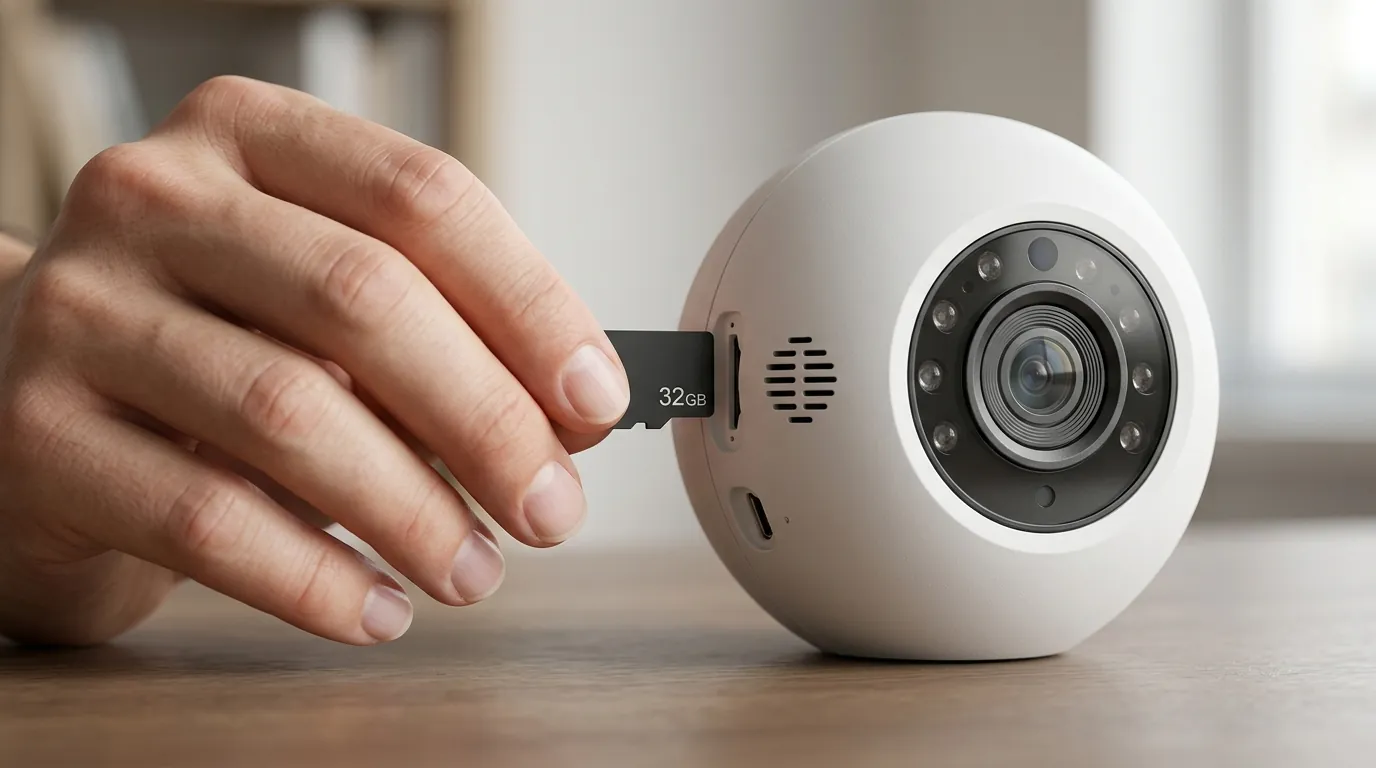
If the quick fixes fail, you must look at how the camera interacts with your network to determine if the firmware is truly “bricked” or just “lost.”
IP Address Ping and Router Logs
Even during a boot loop, the camera’s hardware may briefly connect to your router.
- Open your router’s web interface (usually 192.168.1.1).
- Check the “DHCP Client List” or “Attached Devices.”
- Look for a device named “Tapo_Cam” or a MAC address starting with the TP-Link prefix (e.g., 50:C7:BF or 60:32:B1).
- If the device appears and then disappears every 60 seconds, the hardware is alive but the software is crashing. If it never appears, the Wi-Fi radio is not initializing.
Manual Firmware Flash (The Recovery Tool)
For advanced users, TP-Link provides a manual recovery method for some hardware versions of the C200. This involves using a microSD card as a “boot loader.”
- The File: You must download the specific firmware bin file for your hardware version (V1, V2, etc.) from the TP-Link Download Center.
- The Process: Rename the file to
factory_up_boot.bin(this exact name is required by the bootloader). Place it on the root of a FAT32-formatted SD card (max 32GB for this process). Insert the card and power on the camera. - Warning: As of July 2026, TP-Link has not published a public recovery file for C200 V4 or V5 models. If search does not surface a specific recovery bin for your version, do not attempt to use a V1 file on a V4 unit, as this will cause permanent hardware damage.
Compatible MicroSD Card Specs
If you are replacing your card, ensure it meets the 2026 standards for high-bitrate 1080p video.
| Feature | Requirement | Recommended Model |
|---|---|---|
| Capacity | 32GB to 512GB | Samsung PRO Endurance |
| Speed Class | Class 10, UHS-1 (U3) | SanDisk Max Endurance |
| File System | FAT32 (under 32GB) / exFAT (over 64GB) | Western Digital Purple microSD |
[Image Description: A close-up of a smartphone screen showing the Tapo app ‘Device Settings’ menu with the ‘Auto-Update’ toggle being switched off. Aspect ratio 16:9.]
When to contact support
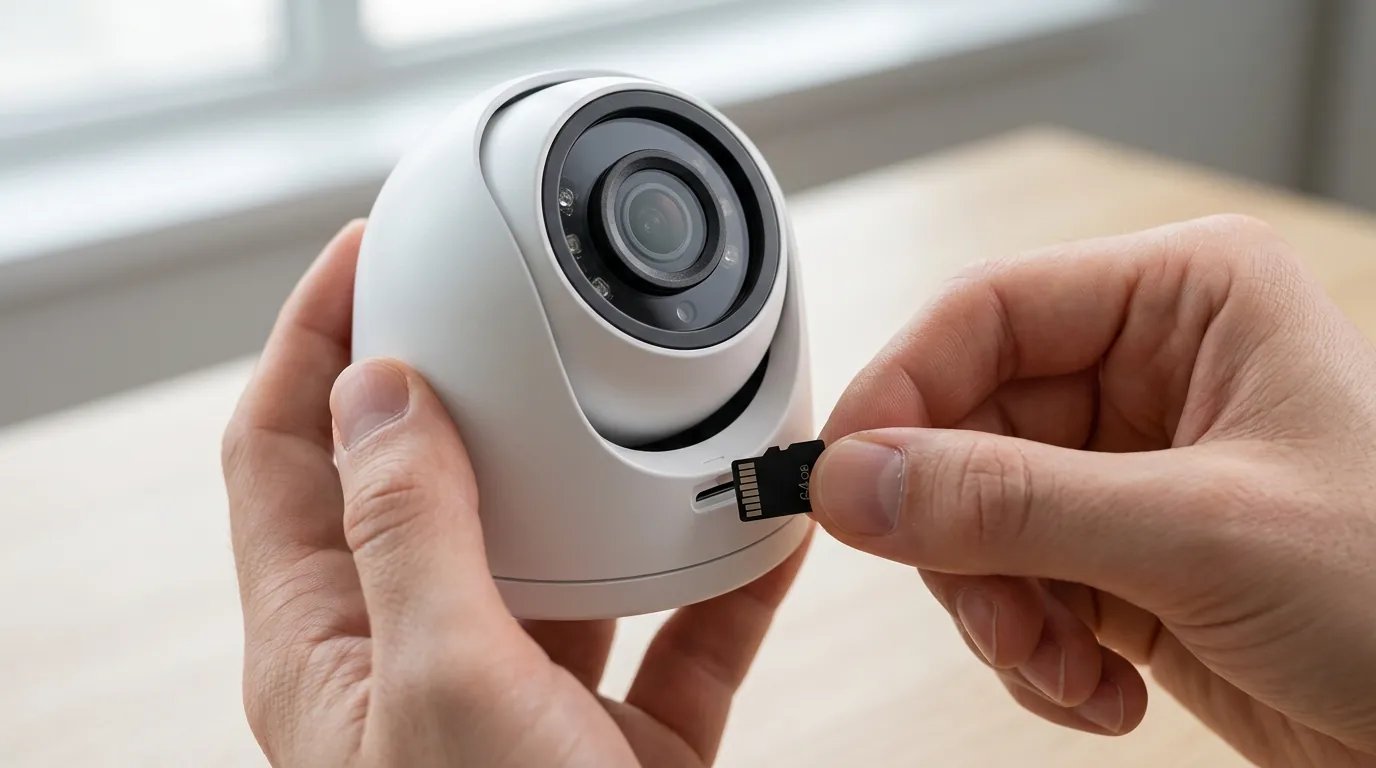
If the LED remains solid red for over 10 minutes and the 10-second reset produces no mechanical movement, the camera’s flash memory is likely physically corrupted.
Warranty Claims and RMA Processes
In the United States, TP-Link typically offers a 2-year limited warranty on Tapo products. If your camera is less than 24 months old and failed specifically due to an official firmware update, you are generally eligible for a replacement.
- Required Info: You will need the Serial Number (S/N) and MAC address from the sticker on the bottom of the camera.
- Contact: Use the TP-Link US Support Portal. Typical RMA (Return Merchandise Authorization) turnaround times are 7–14 business days.
Value vs. Repair: Is it time to upgrade?
The Tapo C200 is an entry-level camera, usually found in the under $35 range. If your unit is out of warranty, the cost of shipping it for repair often exceeds the value of the device.
If you are looking for a more robust alternative, the Reolink E1 Pro (around $50 range) is frequently recommended by the r/HomeSecurity community. Unlike the C200, the E1 Pro offers:
- 2K (4MP) Resolution: Significantly sharper than the C200’s 1080p.
- Dual-Band Wi-Fi: Support for 5GHz reduces the interference issues that often plague 2.4GHz-only cameras like the Tapo.
- Better Local Storage: More stable firmware for high-capacity SD cards without mandatory cloud subscriptions.
How to prevent it
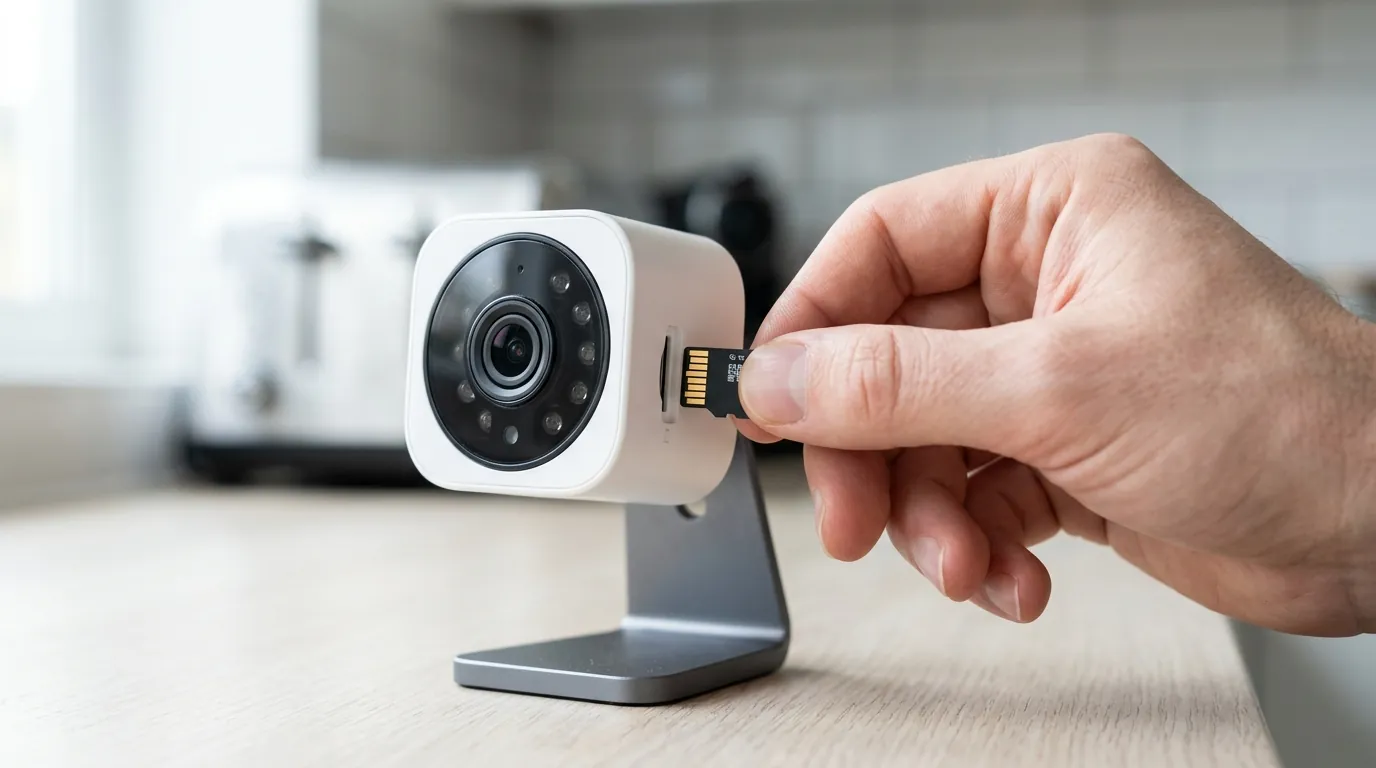
Preventing a boot loop is significantly easier than fixing one. Most firmware failures are the result of environmental factors that can be mitigated with better settings and hardware choices.
Disable ‘Auto-Update’
The “Auto-Update” feature in the Tapo app is designed for convenience, but it often triggers at 3:00 AM when you are not available to intervene if something goes wrong.
- Recommendation: Turn off Auto-Update in the device settings. Instead, manually trigger updates when you are home and can ensure the Wi-Fi is stable. This also allows you to check community forums (like r/Tapo) to see if other users are reporting bugs with a new version (e.g., the 2025 firmware 1.3.11 incident) before you install it.
Use ‘High Endurance’ Cards
Standard microSD cards (like the “Ultra” or “Evo” lines) are designed for occasional bursts of data in cameras or phones. Security cameras write data 24/7, which leads to rapid cell degradation. When these cells fail, they can “lock” the file system, causing the camera to crash during boot. Using a “High Endurance” card, such as the SanDisk Max Endurance, provides up to 15,000 hours of recording and a more stable boot sector.
Optimizing Your Home Network
A stable post-update reconnection depends on your router.
- Static IP: Assign a “Reserved IP” or “Static IP” to your camera in your router settings. This ensures that after the camera reboots from an update, it doesn’t have to wait for a new DHCP handshake, which is a common point of failure for “Offline” bugs.
- UPS Backup: If you live in an area with frequent power flickers, plug your router and your primary security cameras into a small Uninterruptible Power Supply (UPS). This prevents the “Writing” phase of an update from being interrupted by a power cut.
Quvii tracks these trade-offs across the category to help users maintain a reliable security perimeter without constant troubleshooting. By following a “local-first” maintenance strategy—manual updates and high-quality storage—you can extend the life of entry-level hardware like the Tapo C200 significantly.
Frequently Asked Questions
Can I downgrade Tapo C200 firmware?
Officially, TP-Link does not support firmware downgrades through the Tapo app. Once a new version is “burnt” into the flash memory, the system prevents rolling back to an older version for security reasons. The only way to “downgrade” is through a manual flash using the factory_up_boot.bin method, but this is only possible if you have the specific older firmware file and a camera that still responds to the SD bootloader.
Why does my Tapo camera keep going offline after an update?
If the camera isn’t in a full boot loop but frequently goes offline, it is likely a Wi-Fi signal issue. Firmware updates sometimes include new security protocols (like the transition from WPA2 to WPA3) that require a stronger, cleaner signal. Try moving the camera closer to the router or changing your router’s 2.4GHz channel to 1, 6, or 11 to reduce interference.
How long should a Tapo firmware update take?
A typical Tapo C200 update takes between 3 and 5 minutes. This includes the download (1-2 minutes), the writing phase (1 minute), and the reboot/calibration phase (1 minute). If the LED has been solid red or flashing rapidly for more than 10 minutes, the update has likely failed, and you should attempt the 10-second hard reset.
Sources
- TP-Link — Tapo C200 Product Support and Hardware Versions — https://www.tp-link.com/us/support/download/tapo-c200/
- TP-Link — What do the different LED colors mean on the Tapo Cam? — https://www.tp-link.com/us/support/faq/2621/
- GitHub — nervous-inhuman/tplink-tapo-c200-re (Technical Bootloader Analysis) — https://github.com/nervous-inhuman/tplink-tapo-c200-re
- TP-Link Community — C200 Stuck on Red Light after Update (Thread 581534) — https://community.tp-link.com/en/smart-home/forum/topic/581534
- SanDisk — High Endurance vs Max Endurance Specs — https://www.westerndigital.com/products/memory-cards/sandisk-max-endurance-uhs-i-microsd