
How to Install Security Cameras Without Existing Wiring (2026)
Securing your home no longer requires tearing through drywall or hiring an expensive electrician to run coaxial or Ethernet cables. Modern advancements in battery density and wireless protocols have made professional-grade surveillance accessible to anyone with a ladder and a smartphone.
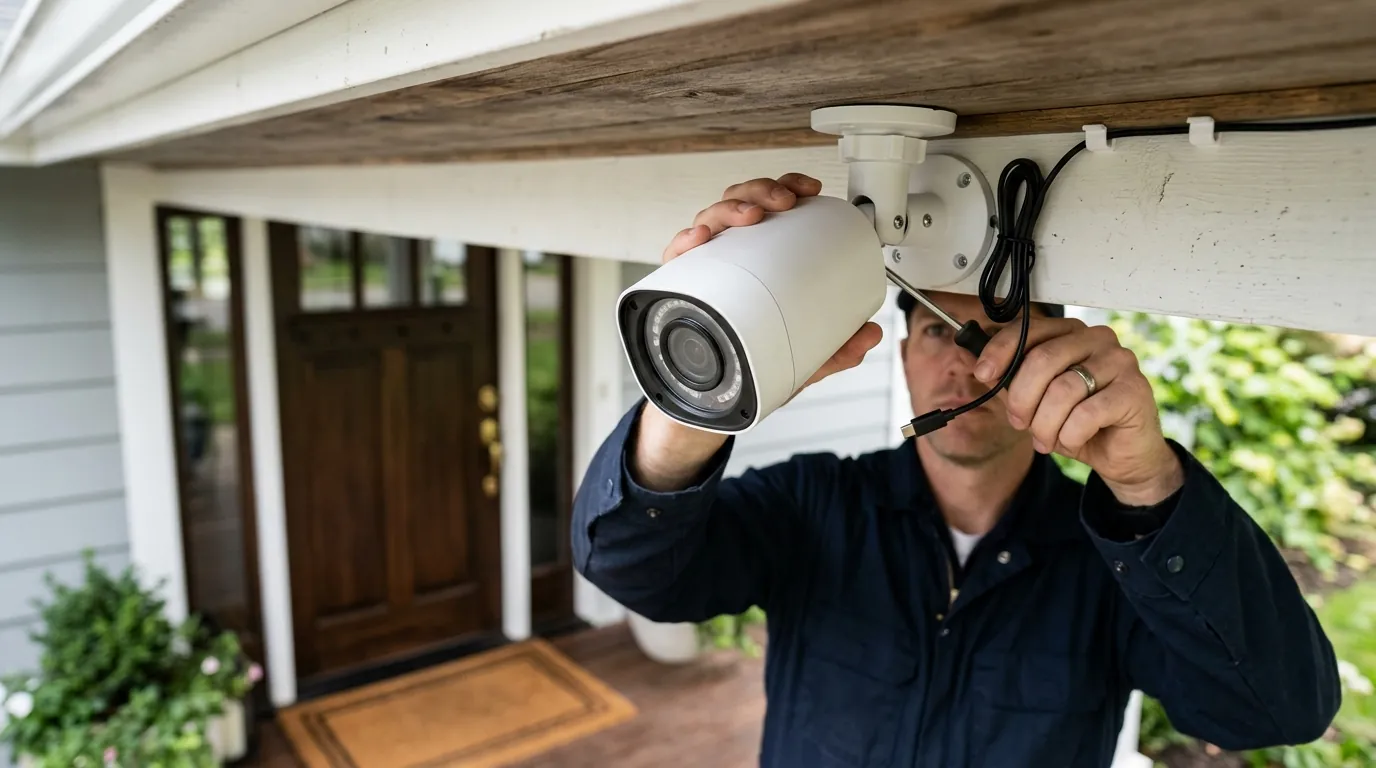
To install a camera without wiring, use battery or solar-powered models like the undisclosed or the EufyCam S340. Mount the units using heavy-duty outdoor adhesive, vinyl siding clips, or gutter clamps to avoid drilling into your home’s exterior. Ensure your Wi-Fi 6 or 6E router signal reaches the installation site to maintain high-bitrate 4K streams.
What you’ll need
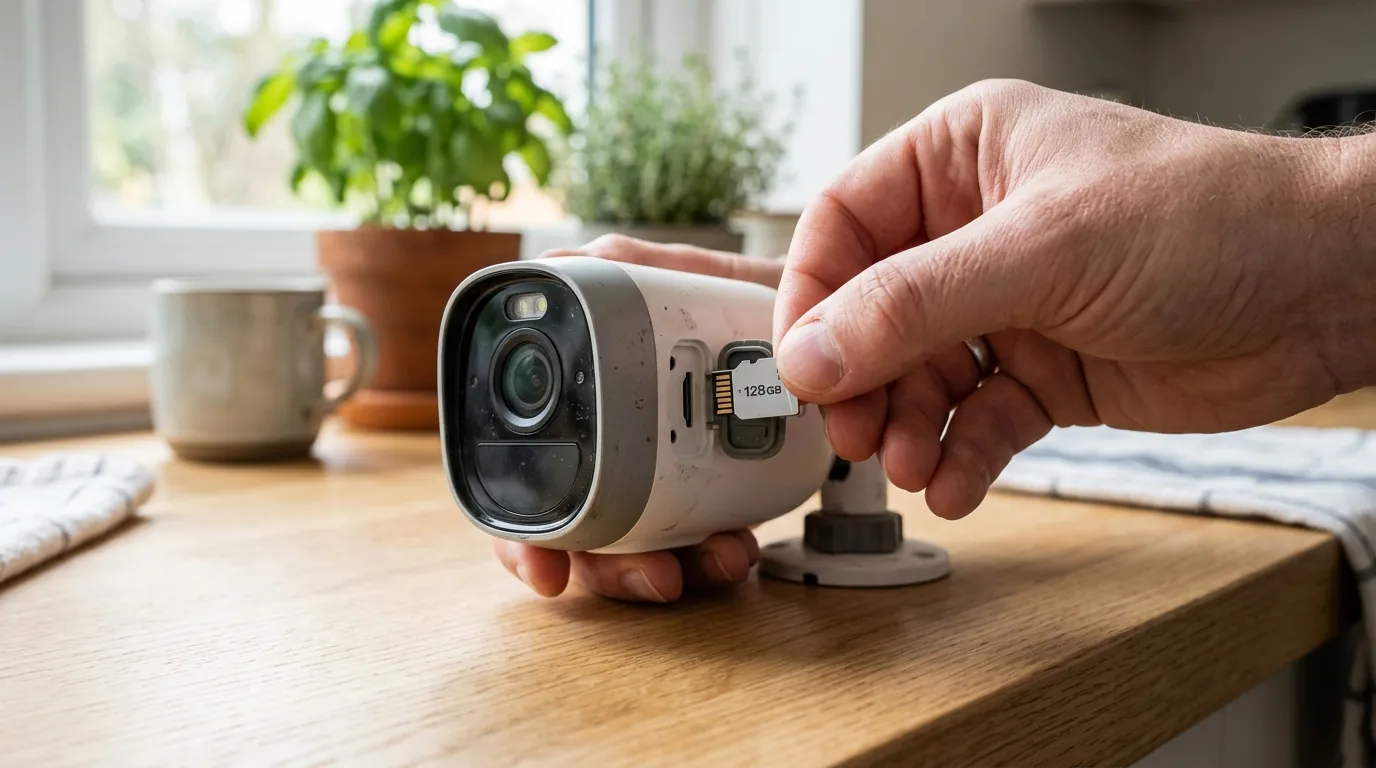
Setting up a wire-free security system in 2026 requires a shift in focus from “wiring” to “signal and power management.” Because you aren’t tethered to a wall outlet, your primary constraints are battery longevity and wireless bandwidth.
Wire-free camera choice: You generally have two paths: rechargeable battery-powered units or solar-integrated models. Solar-integrated cameras, such as those in the eufy SoloCam series, offer virtually zero-maintenance operation if they receive at least two hours of direct sunlight daily. Battery-only models are more flexible for shaded areas but require manual recharging every 3 to 10 months depending on traffic.
Mounting hardware: To avoid permanent damage to your property, skip the drill bits. Gutter clamps are ideal for high-vantage points, while vinyl siding clips allow you to hook cameras directly into the gaps of your home’s cladding. For flat surfaces like metal doors or smooth trim, industrial-strength 3M VHB outdoor-rated adhesive provides a bond that can withstand extreme temperatures and moisture.
Network foundation: High-resolution 4K or 2K cameras demand significant bandwidth. A Wi-Fi 6 (802.11ax) router is recommended to handle the high-bitrate streams without causing congestion for your other devices. Wi-Fi 6 also supports Target Wake Time (TWT), a feature that allows cameras to stay in a low-power sleep state longer, extending battery life.
Power prep: Before you step outside, ensure you have a high-capacity power bank. Many modern cameras do not have removable batteries; if the initial charge is low, you may need to provide USB-C power at the mounting site for firmware updates during the initial handshake.
Battery Life vs. Resolution Comparison
| Camera Model | Resolution | Claimed Battery Life | Power Source |
|---|---|---|---|
| EufyCam S340 | 3K (Dual Lens) | Solar-Integrated (Infinite) | Solar / USB-C |
| Arlo Pro 5S 2K | 2K HDR | Up to 8 Months | Rechargeable Battery |
| Ring Stick Up Cam | 1080p HD | 60–90 Days | Rechargeable Battery |
| Aosu SolarCam D1 | 2K QHD | Solar-Integrated | Solar / USB-C |
Choosing between Battery and Solar
The choice between battery and solar depends entirely on your geographic location and the camera’s placement. Solar panels require direct UV exposure to maintain a charge. If you are mounting under a deep eave or on the north side of a building, a standard battery-powered camera is more reliable. However, if the spot gets sun, solar-integrated models like the Aosu SolarCam eliminate the “ladder fatigue” associated with taking cameras down for charging.
Tools for No-Drill Mounting
If you are a renter or simply want to preserve your home’s exterior, you should invest in specialized mounting accessories. Stainless steel siding hooks are the gold standard for vinyl exteriors, as they require no tools and can be repositioned in seconds. For brick or stone, heavy-duty adhesive mounts are the only viable no-drill option, though they require a perfectly clean surface to bond correctly.
Step-by-step installation
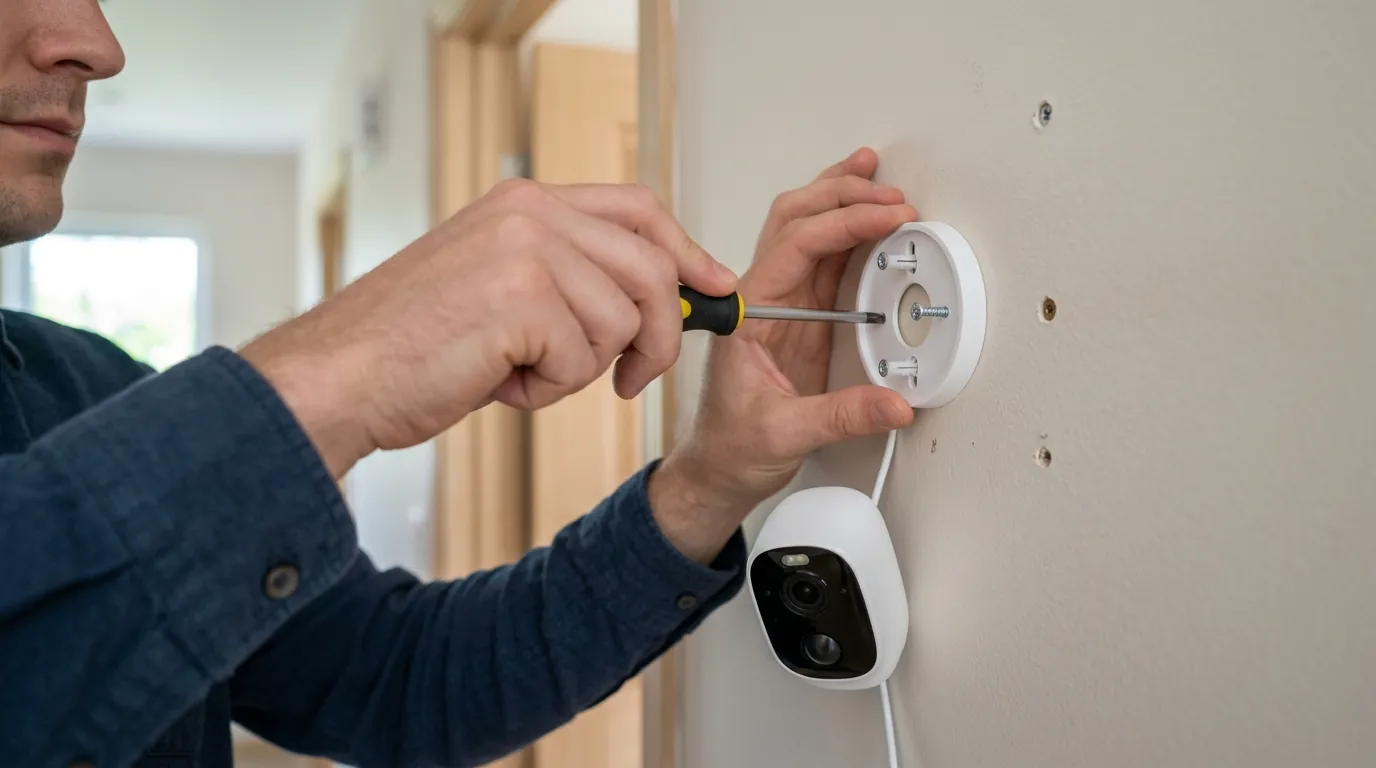
The most common mistake in DIY camera installation is mounting the hardware before verifying the software. Follow this phased approach to ensure your system works before you commit to a physical location.
Phase 1: The Indoor Handshake
Start by charging the camera to 100% using the provided cable. While the camera is charging, download the manufacturer’s app (such as the eufy Security app or the Arlo app). Pair the camera with your router while standing in the same room as your Wi-Fi access point. This “indoor handshake” ensures that any initial firmware updates, which can be several hundred megabytes, are downloaded over a stable connection. If a firmware update fails mid-setup due to a weak outdoor signal, it can occasionally “brick” the device, requiring a factory reset.
Phase 2: The Outdoor Signal Check
Before securing any mounts, take the fully paired camera to the intended mounting spot. Open the app and look for the Wi-Fi Signal Strength meter. In 2026, most 4K cameras require a “Good” or “Excellent” rating to maintain a consistent frame rate. If the signal is “Poor,” your video will likely suffer from latency (lag) or frequent disconnections. If the signal is weak, consider moving the camera a few feet or installing a Wi-Fi extender closer to the exterior wall.
Phase 3: Securing the Mount
Once the signal is verified, prepare the mounting surface. If you are using an adhesive mount, clean the area thoroughly with isopropyl alcohol to remove dirt and oils. For gutter mounts, slide the bracket over the gutter’s front lip and tighten the thumb-screws until the mount is immobile. Attach the camera to the mount’s threading—standard mounts typically use a 1/4”-20 screw thread—and tilt the lens to your desired field of view.
Common gotchas
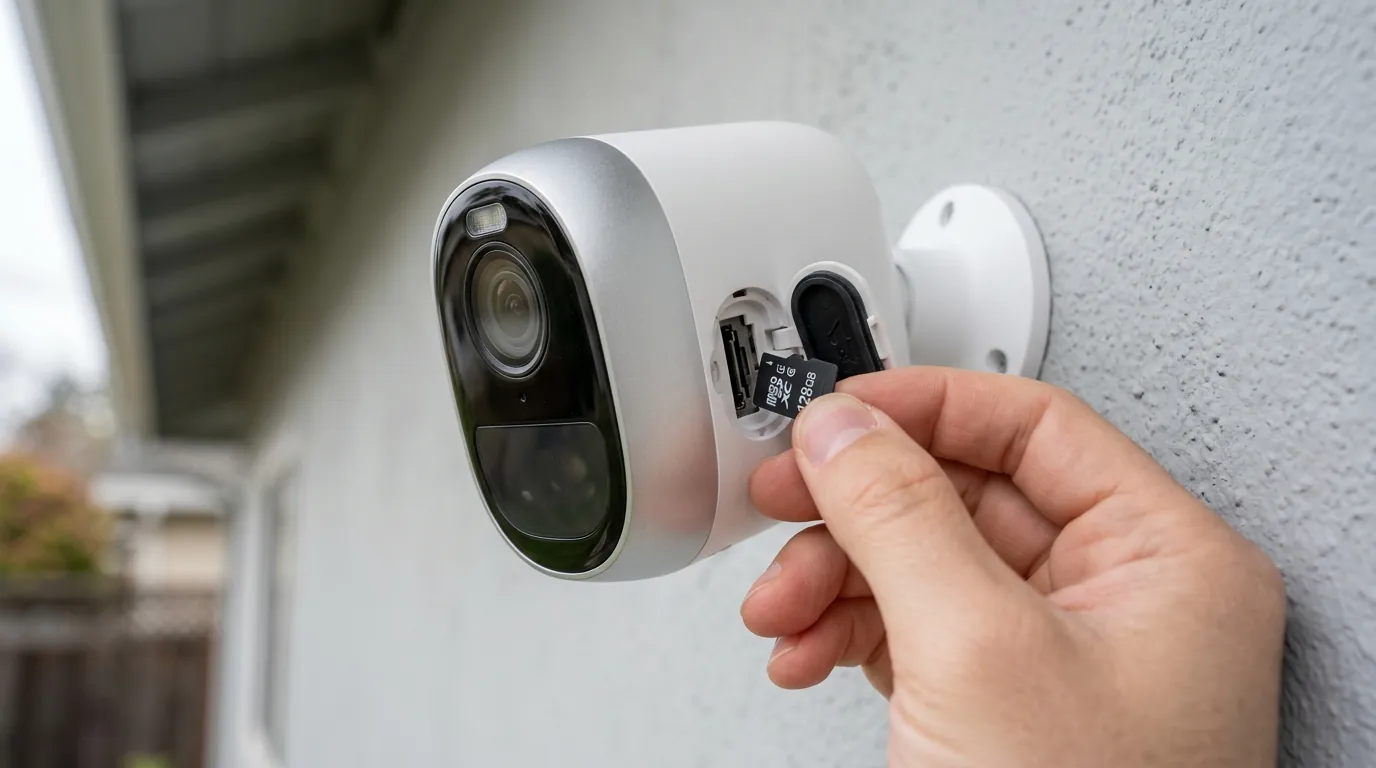
Even the most expensive wire-free cameras can fail if environmental factors aren’t considered.
Why your battery might die early
A “6-month battery life” claim is usually based on an average of 10 to 15 motion events per day. If your camera faces a busy sidewalk or a tree that sways in the wind, it may trigger hundreds of times daily. This constant “waking up” to record will drain a battery in weeks rather than months. To prevent this, use the app to set Activity Zones, which tell the camera to ignore motion in specific areas of the frame, such as the street.
The ‘Through-the-Window’ trap
Many users attempt to install wire-free cameras inside, pointing out through a window to avoid outdoor mounting. This rarely works. Most wire-free cameras use Passive Infrared (PIR) sensors to detect motion. PIR sensors detect changes in heat, and standard glass blocks infrared radiation. Consequently, a camera behind glass will not trigger when someone walks by. Furthermore, at night, the camera’s IR LEDs will reflect off the glass, blinding the lens and resulting in a white, blurry image.
Optimal PIR detection: For the best results, mount the camera 8 to 10 feet high and tilt it downward at a 15 to 20-degree angle. This allows the PIR sensor to track movement “across” its field of view, which is more effective than tracking movement directly toward the lens.
Renter-friendly tips (no drilling)
If you live in an apartment or a managed community, you likely cannot drill holes in the exterior. Fortunately, the “no-drill” market has expanded significantly by 2026.
Gutter Mounts: These are the most stable no-drill option. They use a C-clamp mechanism to grip the edge of your rain gutters. Because gutters are usually at the highest point of the first floor, this provides an excellent bird’s-eye view of your property.
Vinyl Siding Clips: These stainless steel hooks require no adhesive or screws. They slide under the overlap of your siding panels and provide a standard mounting screw. They are virtually invisible and leave no marks when removed.
Magnetic Bases: Some cameras, like the Arlo Ultra series, come with powerful magnetic mounts. These are perfect for metal door frames or steel railings. However, if using a magnetic mount, always use a security tether (a small wire cable) to prevent someone from simply grabbing the camera.
Tension Poles: For balcony installations, a floor-to-ceiling tension bar (similar to a shower curtain rod but heavy-duty) can be used. You can then clamp the camera to the pole, allowing for a high-vantage mount without touching the apartment walls.
Mounting Surface vs. Accessory Chart
| Surface Type | Recommended Accessory | Stability Rating |
|---|---|---|
| Rain Gutter | Gutter Clamp Mount | High |
| Vinyl Siding | Siding Hook / Clip | Medium-High |
| Metal Frame | Magnetic Base + Tether | Medium |
| Brick / Stone | 3M VHB Adhesive Plate | Medium |
| Balcony Rail | Universal Pole Clamp | High |
Connecting to your home network
A camera is only as good as its connection. In 2026, the transition to Wi-Fi 6 and 6E has changed how we manage smart home devices.
Optimizing for Wi-Fi 6 and 6E
While 5GHz and 6GHz bands offer incredible speeds, they have shorter range and struggle to penetrate thick exterior walls. For outdoor cameras, the 2.4GHz band remains the most reliable choice due to its superior range. If your router supports it, create a dedicated IoT (Internet of Things) SSID specifically for your cameras. This keeps your high-speed 6GHz band open for gaming and streaming while ensuring the cameras have a clear path on the 2.4GHz band.
Furthermore, ensure your network is using WPA3 encryption. WPA3 provides much stronger protection against “brute-force” attacks, which is critical for devices that are physically accessible on the outside of your home.
Securing your local storage
To avoid monthly subscription fees, many users opt for local storage. Ensure you use a High-Endurance microSD card (rated U3 or V30). Standard SD cards are not designed for the constant “overwrite” cycles of security footage and will likely fail within a year. If your camera supports it, look for Target Wake Time (TWT) settings in your router; enabling this can improve the battery life of Wi-Fi 6 cameras by up to 30% by reducing unnecessary radio check-ins.
Verifying it works
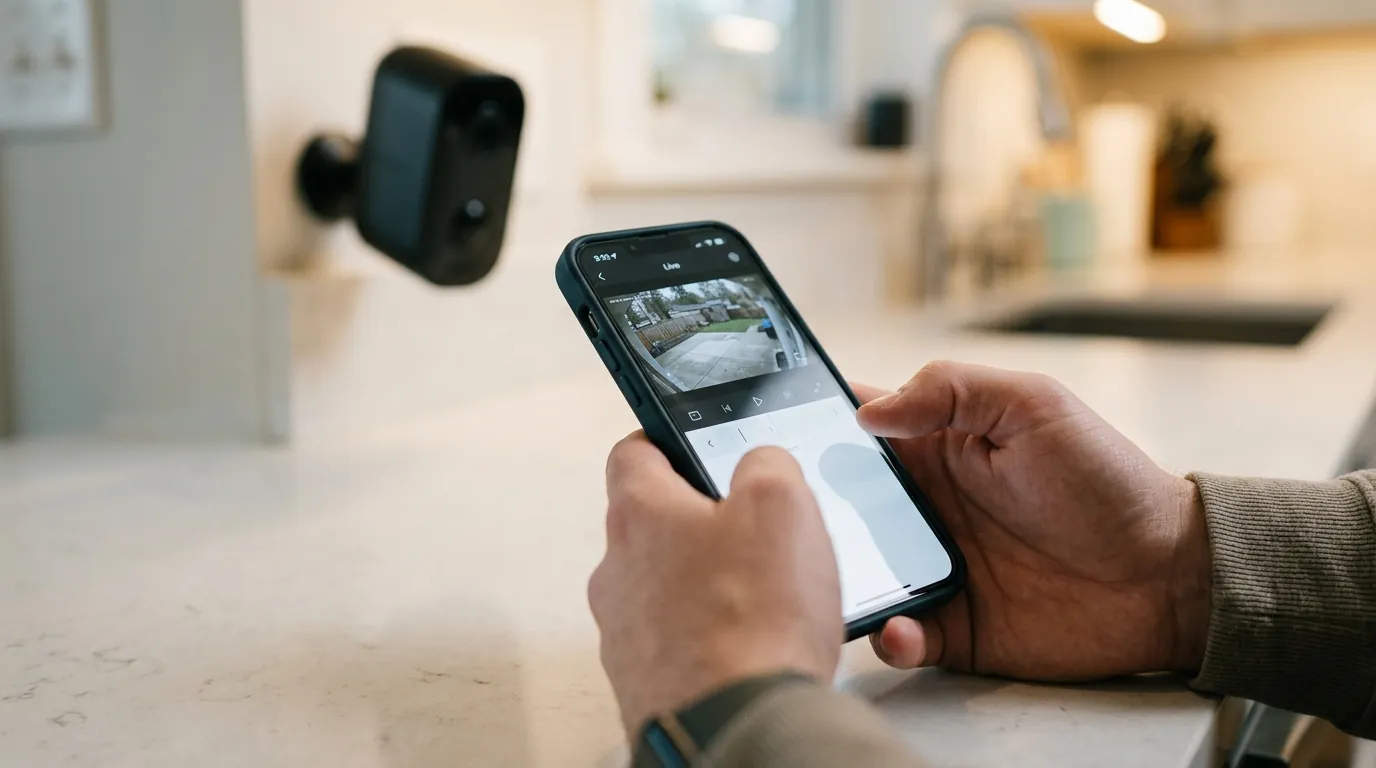
The final step is the “Walk Test.” This ensures your settings are calibrated for real-world scenarios.
The ‘Walk Test’
Open the live view on your smartphone and walk toward your property from the street. Note exactly where the camera triggers. If it triggers while you are still on the public sidewalk, you will receive too many false alerts. Adjust the Motion Sensitivity slider in the app until it only triggers when someone enters your actual driveway or porch.
Test the Notification Latency as well. On a healthy Wi-Fi 6 network, you should receive a “Motion Detected” alert on your phone within 2 seconds of the event. If it takes longer than 5 seconds, your Wi-Fi signal is likely too weak, and the camera is struggling to upload the initial alert frame.
Night vision troubleshooting
Once the sun goes down, check the image for “white-out.” This occurs when the camera’s Infrared (IR) light reflects off a nearby object—like a gutter or a leaf—making everything else in the background appear pitch black. If this happens, slightly adjust the angle of the camera away from the reflecting surface. If your camera supports Full-Color Night Vision, ensure your outdoor porch light is on, as this feature requires at least a small amount of ambient light to produce a clear color image.
Post-installation Checklist
- Battery charged to 100% and solar panel (if applicable) angled toward the sun.
- Activity Zones set to exclude public sidewalks and swaying trees.
- WPA3 security enabled on the IoT network.
- High-endurance microSD card formatted and recognized by the app.
- Two-way audio tested to ensure the microphone isn’t muffled by the mount.
- Firmware updated to the latest version.
Sources
- eufy — https://www.eufy.com/products/t81701w1
- crimtechhub.com
- Wikipedia (Wi-Fi 6) — https://en.wikipedia.org/wiki/Wi-Fi_6
- network-switch.com
- aosulife.com
- Arlo — https://www.arlo.com/en-us/cameras/pro/arlo-pro-5.html
- Ring — https://ring.com/products/stick-up-security-camera-battery
- Reolink — https://reolink.com/blog/security-camera-motion-detection-through-glass/
- 3M