
How to Set Up a Security Camera with Alexa (2026 Guide)
Integrating your home security system with Amazon’s ecosystem has evolved significantly with the arrival of AI-driven displays and standardized communication protocols.
To connect your camera, enable the manufacturer’s Skill in the Alexa app, link your accounts, and say “Alexa, discover my devices.” For a subscription-free experience, use a local-storage camera like undisclosed with your Echo Show. For the most modern setup, utilize the Matter 1.5 protocol to link compatible cameras directly to your Echo Show 21 or Echo Show 11 without requiring a third-party bridge.
What you’ll need
Before beginning the installation, ensure you have the correct hardware to support high-fidelity video streaming. The 2026 smart home landscape relies heavily on Wi-Fi 6E and the AZ3 Pro chip for processing the conversational AI features of Alexa+.
- An Alexa-enabled display: Current flagship models like the Echo Show 21 or the Echo Show 11 are recommended for their superior resolution and spatial audio capabilities.
- A compatible security camera: Brands such as Reolink, Eufy, or undisclosed offer local storage options that minimize monthly fees.
- Manufacturer’s Smartphone App: You must have your camera fully configured and viewing live video in its native app (e.g., the Eufy Security or Reolink app) before attempting the Alexa link.
- High-Speed Network: A Wi-Fi 6 or 6E connection is essential for streaming 4K video without significant latency.
- Alexa App with Alexa+: Ensure your Amazon Alexa app is updated to the latest version to access Alexa+ (Alexa Plus), which offers more conversational control over your smart home devices.
2026 Echo Show Comparison Table
The following table compares the primary smart displays used for security monitoring as of early 2026.
| Model | Display Size | Max Resolution | Connectivity | Key Feature |
|---|---|---|---|---|
| Echo Show 5 (3rd Gen) | 5.5-inch | 960 x 480 | Wi-Fi 5 | Compact bedside viewing |
| Echo Show 11 (2025) | 10.95-inch | 1920 x 1200 | Wi-Fi 6E | AZ3 Pro AI Chip |
| Echo Show 15 (2nd Gen) | 15.6-inch | 1920 x 1080 | Wi-Fi 6E | Wall-mountable hub |
| Echo Show 21 (2024) | 21.4-inch | 1920 x 1080 | Wi-Fi 6E | Double the bass of 1st Gen |
Step-by-step installation
The setup process involves bridging the gap between your camera’s cloud server and Amazon’s smart home API. In 2026, this is primarily done through “Skills” or the newer Matter 1.5 local standard.
Linking the Manufacturer Skill
- Open the Amazon Alexa app on your mobile device.
- Tap on the More icon in the bottom right and select Skills & Games.
- Use the search magnifying glass to find your camera’s brand (e.g., “Reolink” or “Eufy Security”).
- Select the Skill and tap Enable to Use.
Authorizing Account Access
Once the Skill is enabled, a browser window will open within the Alexa app. You must enter the login credentials for your camera manufacturer’s account. This step grants Amazon permission to access your camera’s video stream. After logging in, you will see a confirmation message stating that your account has been successfully linked.
Naming Your Camera for Voice Success
After linking, the app will prompt you to Discover Devices. This process can take up to 45 seconds. Once the camera is found, you will be asked to assign it to a room.
Naming is critical for Alexa+ to understand natural language requests. Instead of “Cam_12345,” name the device “Front Porch” or “Backyard.” This allows you to use intuitive commands like “Alexa, show me who is at the front porch.”
Local Setup via Matter 1.5
If you own a Matter 1.5 compatible camera, you can bypass cloud-based Skills for faster, local communication.
- Navigate to Devices > + > Add Device.
- Select Matter.
- Scan the Matter QR code on your camera hardware.
- The Echo Show 21 will act as a Matter Controller, establishing a direct WebRTC stream that operates even if your external internet connection is interrupted.
Common gotchas
Even with modern hardware, several technical hurdles can prevent a smooth streaming experience.
Privacy Update: Alexa+ Cloud Processing
As of March 2025, Amazon updated its privacy policy regarding Alexa+. To power the advanced generative AI features, voice recordings are now processed in the cloud rather than locally on the device. If you use the “Don’t Save” recording setting, certain personalized features like Voice ID may be disabled. Review your settings under Settings > Alexa Privacy > Manage Your Alexa Data to ensure your comfort level with cloud processing.
Band Steering and Wi-Fi Conflicts
While the latest Echo devices support Wi-Fi 6E, many older or budget security cameras are restricted to the 2.4GHz band. If your Echo Show cannot find the camera during discovery, your router’s “Band Steering” might be forcing the camera onto a frequency it cannot handle. Temporarily disabling the 5GHz and 6GHz bands in your router settings can help the initial handshake.
The “Camera Doesn’t Support That” Error
This error frequently occurs if the camera’s firmware is outdated or if the “Live View” permission is toggled off in the native manufacturer app. Always check for firmware updates in the camera’s original app before troubleshooting the Alexa Skill.
Latency Lag on Older Models
Streaming 4K video to an older Echo Show 5 can cause significant buffering or app crashes. If you experience “Time to First Frame” (TTFF) delays of more than 5 seconds, consider lowering the sub-stream resolution in your camera settings to 1080p for Alexa viewing while maintaining 4K for local SD card recording.
Renter-friendly tips (no drilling)
For those in apartments or rental homes, mounting hardware can be a challenge. You can secure your cameras using non-permanent solutions that still provide optimal viewing angles.
- Suction Cup Mounts: These are ideal for placing a camera against the inside of a window. Note that infrared (IR) night vision must be turned off to prevent glare against the glass.
- Over-the-Door Brackets: These metal clips hang over the top of a standard door frame, providing a secure mount for video doorbells or small cameras without needing screws.
- Command Outdoor Adhesive Plates: Using specialized outdoor strips is effective for lightweight cameras. Ensure the surface is cleaned with rubbing alcohol before application.
Adhesive Surface Compatibility and Weight Limits
| Adhesive Type | Weight Limit | Best Surface | Not Recommended For |
|---|---|---|---|
| Command Large Strip | 5 lbs (2.2kg) | Painted Wallboard | Wallpaper, Brick |
| Command Outdoor Strip | 5 lbs | Vinyl Siding, Glass | Rough-sawn wood |
| Specialized Brick Strips | Up to 16 lbs | Smooth/Painted Brick | Porous/Unpainted Brick |
Connecting to your home network
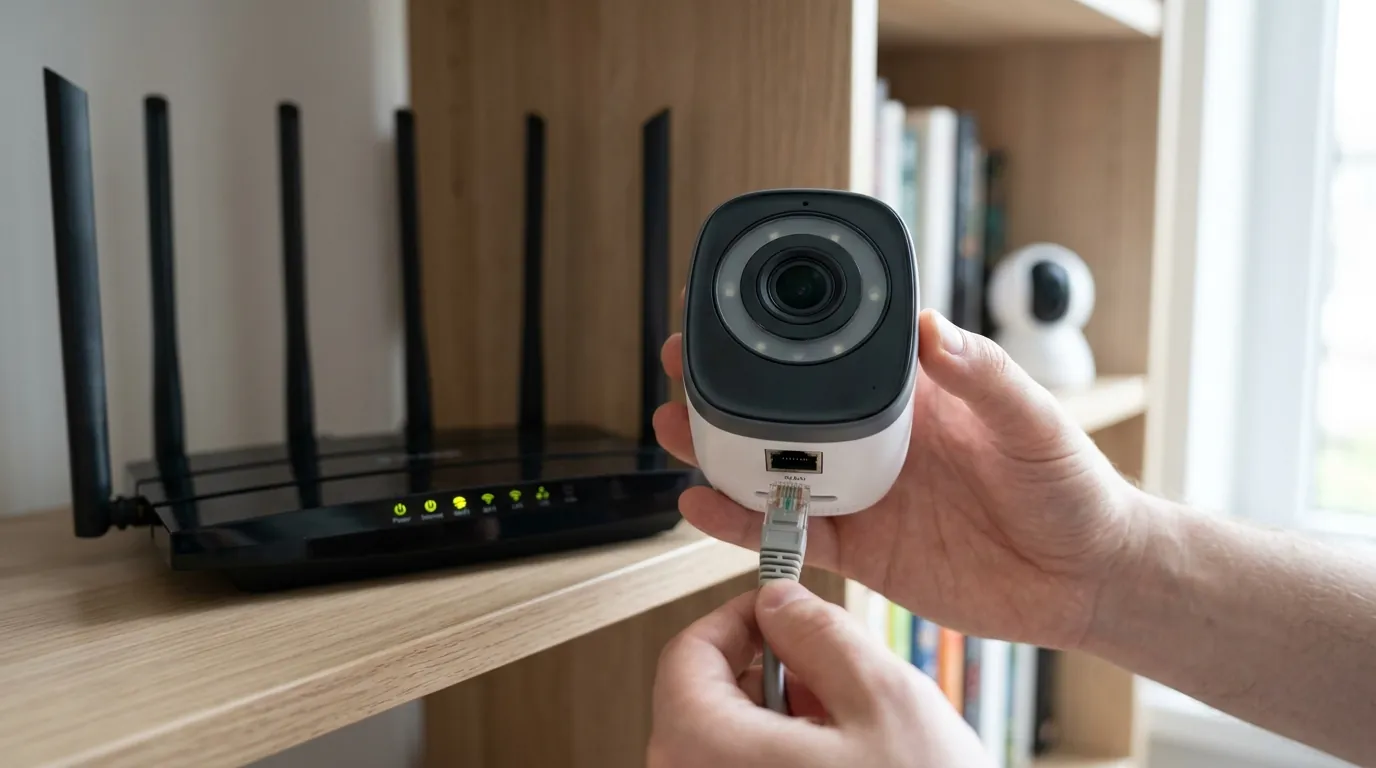
A stable connection is the backbone of any security system. For 4K streaming, the Received Signal Strength Indicator (RSSI) must be optimized.
Check your RSSI
You can find the RSSI value in the “Device Health” section of most camera apps (such as Ring or Eufy). RSSI is measured in negative numbers; the closer the number is to zero, the stronger the signal.
| RSSI Value (dBm) | Signal Strength | Streaming Experience |
|---|---|---|
| -30 to -50 | Excellent | Instant 4K Streaming |
| -50 to -60 | Good | Reliable 1080p |
| -60 to -70 | Poor | Buffering/Lower Quality |
| Below -70 | Unusable | Frequent Disconnects |
Network Isolation and Security
To protect your primary data, place your security cameras on a dedicated IoT guest network. This ensures that if a camera’s firmware is compromised, the attacker cannot easily access your personal computers or smartphones. Additionally, ensure your router is set to WPA3 encryption, which is the standard for Wi-Fi 6E devices.
Verifying it works
Once setup is complete, perform a series of tests to ensure the integration is responsive.
- Test the Primary Command: Say, “Alexa, show me the [Camera Name].” A successful link should display the video feed in under 3 seconds on an Echo Show 11 or 21.
- Set up an Alexa Routine: In the Alexa app, go to More > Routines. Create a routine where “When [Camera] detects a person,” the action is “Alexa, show [Camera] on [Echo Show Name].”
- Check Two-Way Talk: Tap the Mic icon on your Echo Show’s screen while viewing a live feed. Verify that you can hear audio from the camera and that your voice is audible through the camera’s speaker.
- Verify Local Storage: If you are using a setup like undisclosed, check your camera’s native app to ensure that viewing the feed via Alexa hasn’t triggered an unwanted cloud upload, preserving your privacy and bandwidth.
Essential Alexa Voice Commands for 2026
- “Alexa, show the front door.”
- “Alexa, show the last motion event from the backyard.”
- “Alexa, talk to the driveway.”
- “Alexa, hide the camera.”
- “Alexa, is the front door locked?” (If integrated with a smart lock).
- “Alexa, zoom in on the porch.” (Supported via Matter 1.5 PTZ controls).
- “Alexa, turn on the floodlight.”
- “Alexa, show all my cameras.”
- “Alexa, answer the doorbell.”
- “Alexa, stop.”
Sources
- matter-smarthome.de — https://www.matter-smarthome.de/en/standard/matter-1-5-arrives-bringing-long-awaited-cameras/
- aboutamazon.com
- aboutamazon.com
- pcmag.com — https://www.pcmag.com/reviews/amazon-echo-show-11-2025
- matteralpha.com
- matteralpha.com
- espressif.com
- cnet.com
- t3.com
- theweektoday.com
- novaedgedigitallabs.tech
- command.com — https://www.command.com/3M/en_US/command/products/~/Command-Large-Refill-Strips/
- command.com — https://www.command.com/3M/en_US/command/products/~/Command-Outdoor-Large-Refill-Strips/
- safestreets.com
- simplisafe.com — https://www.simplisafe.com/support/home/what-is-wi-fi-strength-and-rssi
- homedepot.com — https://www.homedepot.com/p/Command-Clear-Outdoor-Light-Clips-30-Clips-32-Command-Strips-17017CLRAW30NA/314997178